
Before we dive into this tutorial for how to bake rainbow sugar cookies, I need to ask you, if you’re really prepared to do this. Do you have a friend who can bake or a local bakery you want to support? If you’re like “Mayyyyybe…and why is she trying to dissuade me from baking rainbow sugar cookies?”, don’t say you weren’t warned. This is your last chance to bow out.
Because learning how to bake rainbow sugar cookies is not for the faint of heart.
But when you’re hosting a rainbow themed birthday party, PRIDE party or any rainbow festivities, you know you need to deliver that wow factor and rainbow sugar cookies are just that. They’re the “These are amazing! How did you make them?” cookies, that everyone thinks you’re a master chef.
The answer is through blood, sweat and the loss of your sanity. Seriously.
How to bake Rainbow Sugar Cookies
Now. I knew I had to bake the Rainbow Cake for our daughter’s birthday party – that was a given. You can find the Easy Rainbow Cake Recipe – aka Cheat Version here. Yes, I have a cheat version because that cake is another “I had no business baking a rainbow cake but tried anyway” story.
Do you notice a theme here? I promise I am decent baker but this party was out to kill me.
Back to the cookies.
When I saw the Rainbow Slice Cookies at Good Life Eats, that was it. It was come hell or high water, I needed to make these.
I started out with good intentions and all my supplies and then…
The first batch was ruined. Here’s what I did wrong so you do not do this.
I started with a simple sugar cookie recipe (that serves at least 48 – do a recipe calculation for more if you can) and added gel food coloring.
STEP 1
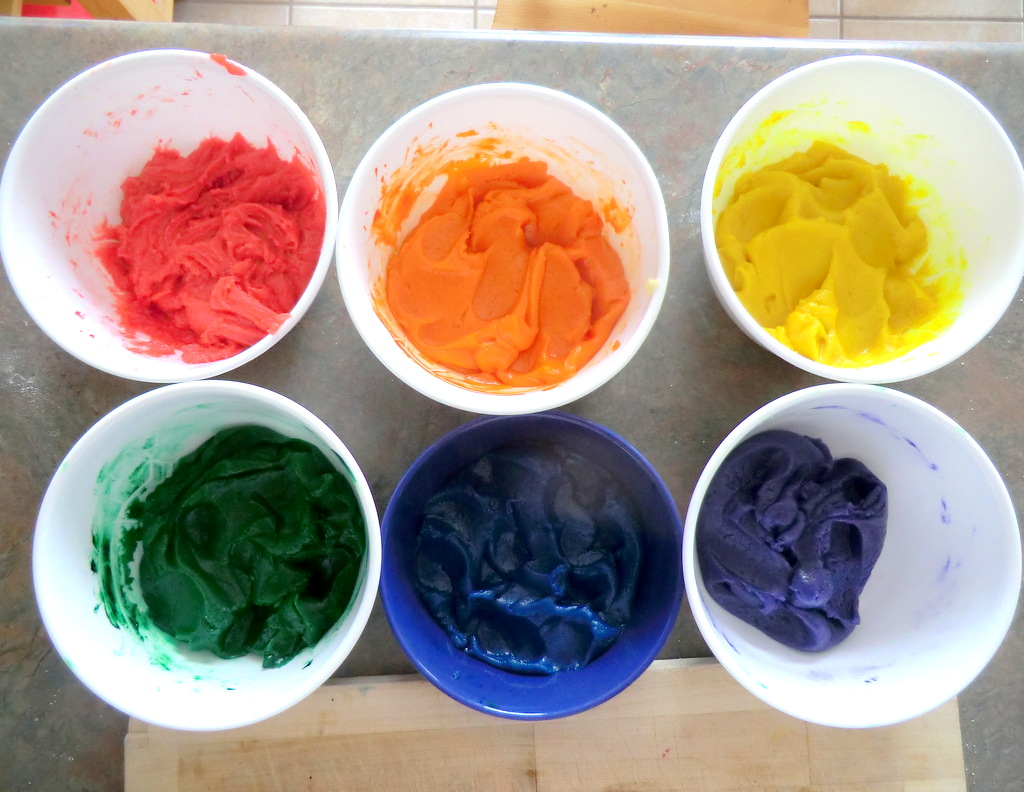
Divided equal amounts of dough into 6 separate bowls.
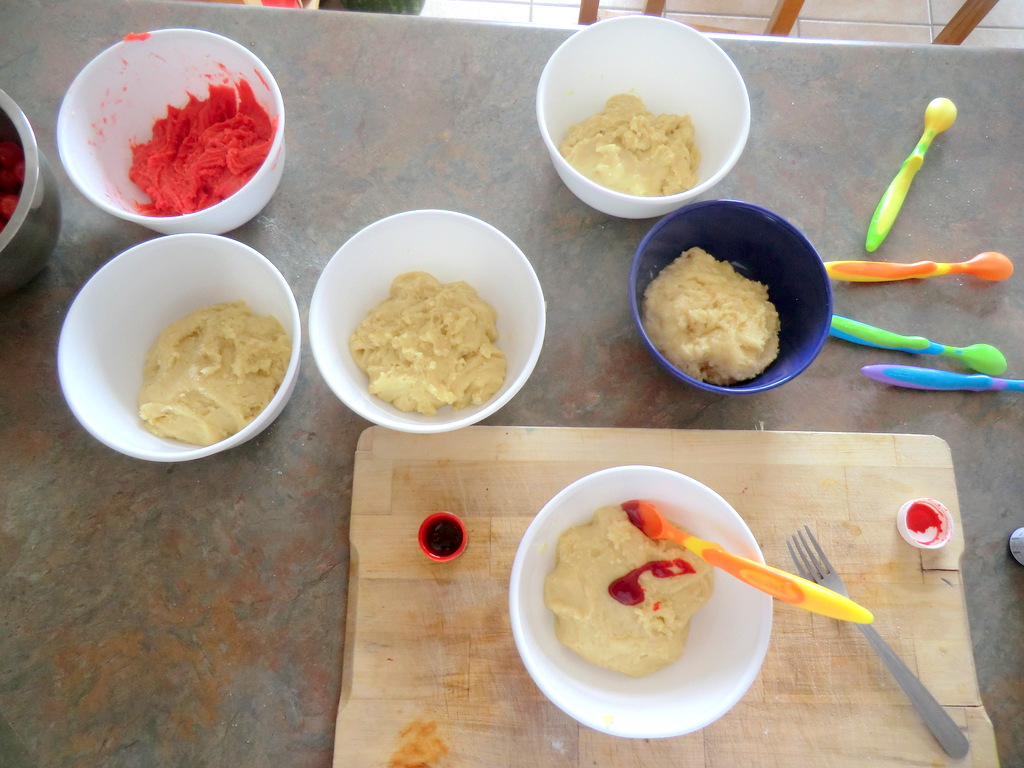
STEP 2
Add food coloring.
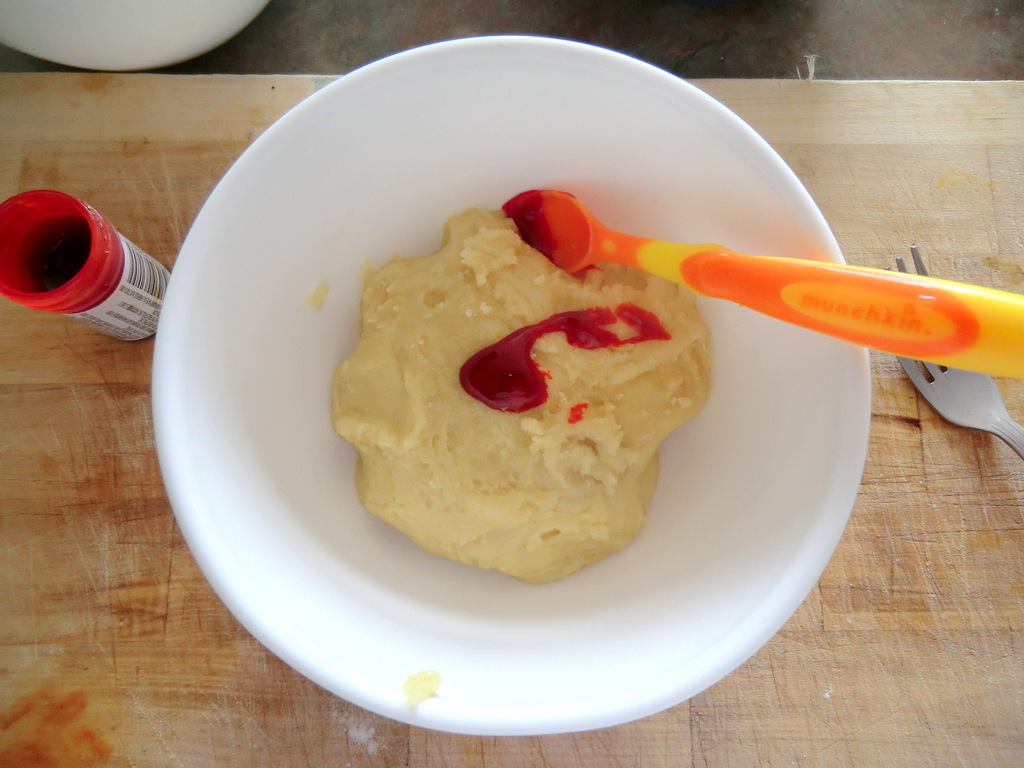
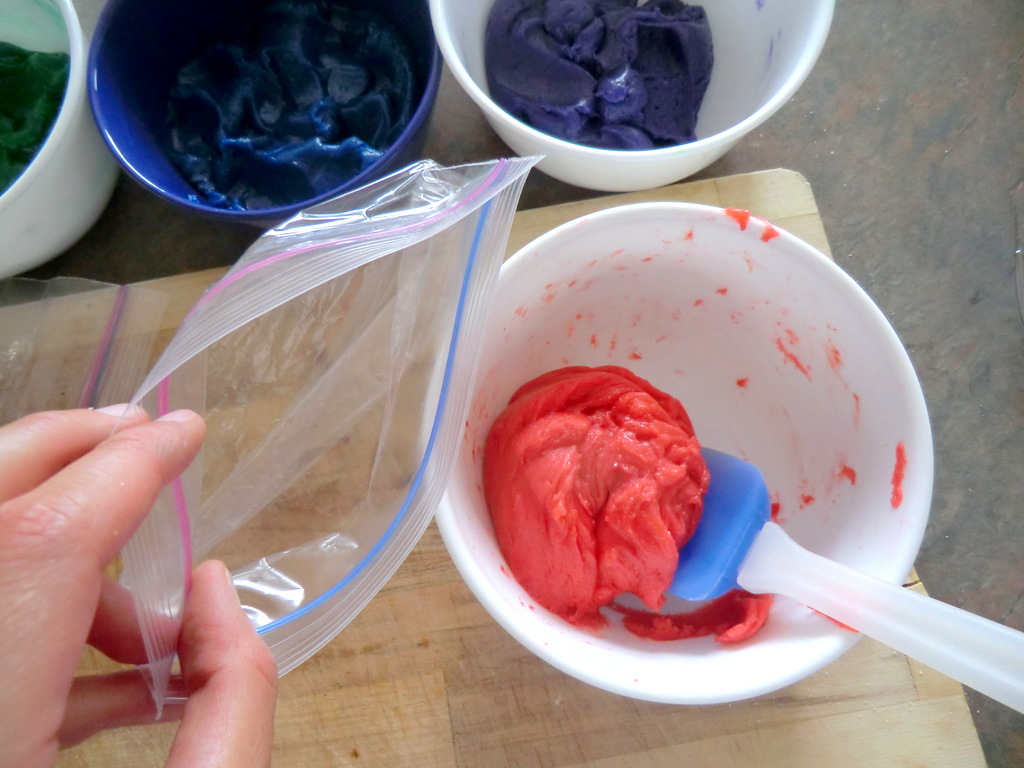
STEP 3
Mix. Use hands in gloves instead of a spoon. Seriously.
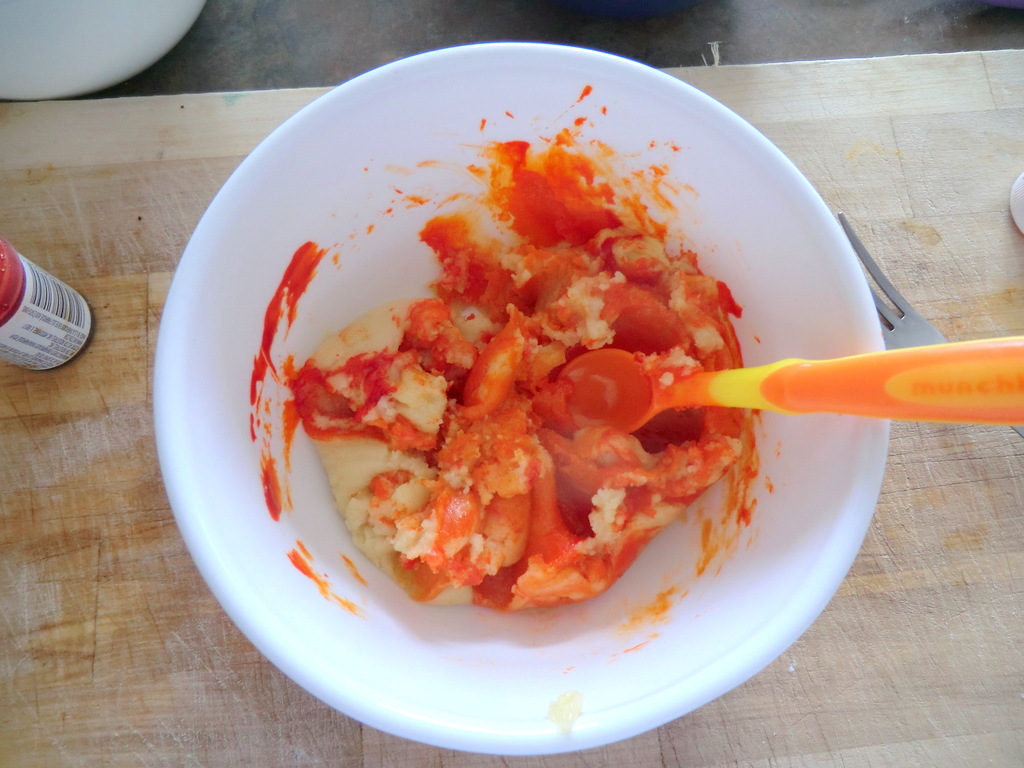
Mix.
Mix.
Knead with hands.
Regret doing upper body day at the gym that morning.

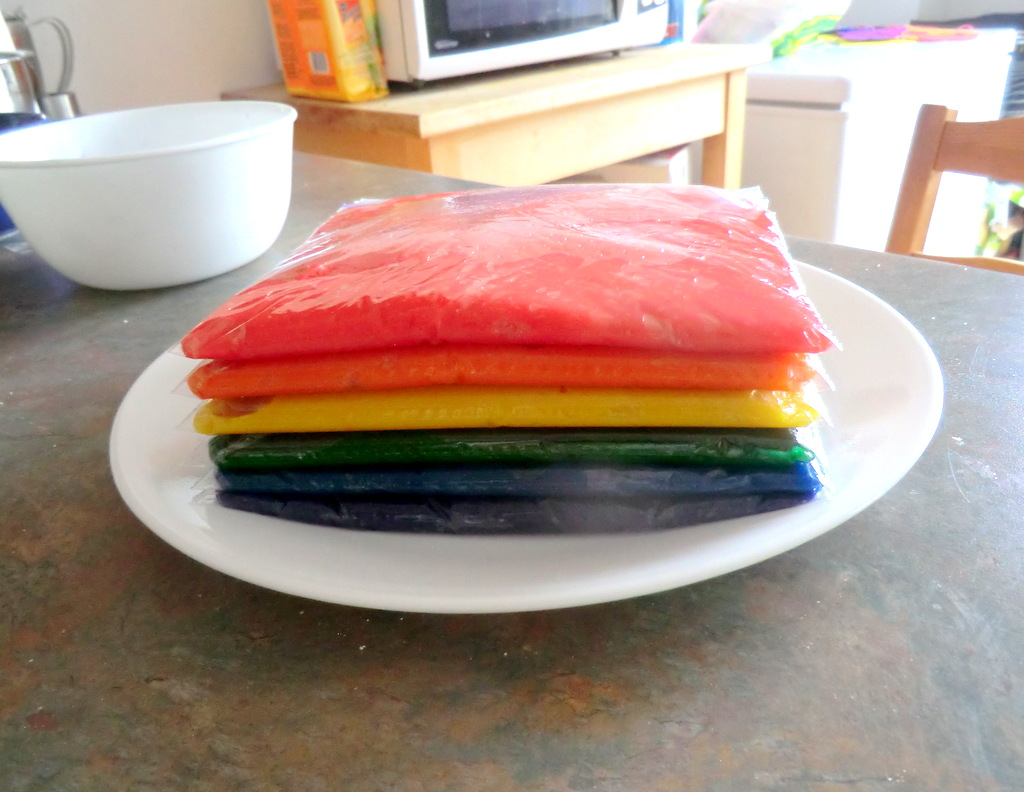
STEP 4
Dough meet Ziplock sandwich bag.
STEP 5
Put layers in fridge to chill.
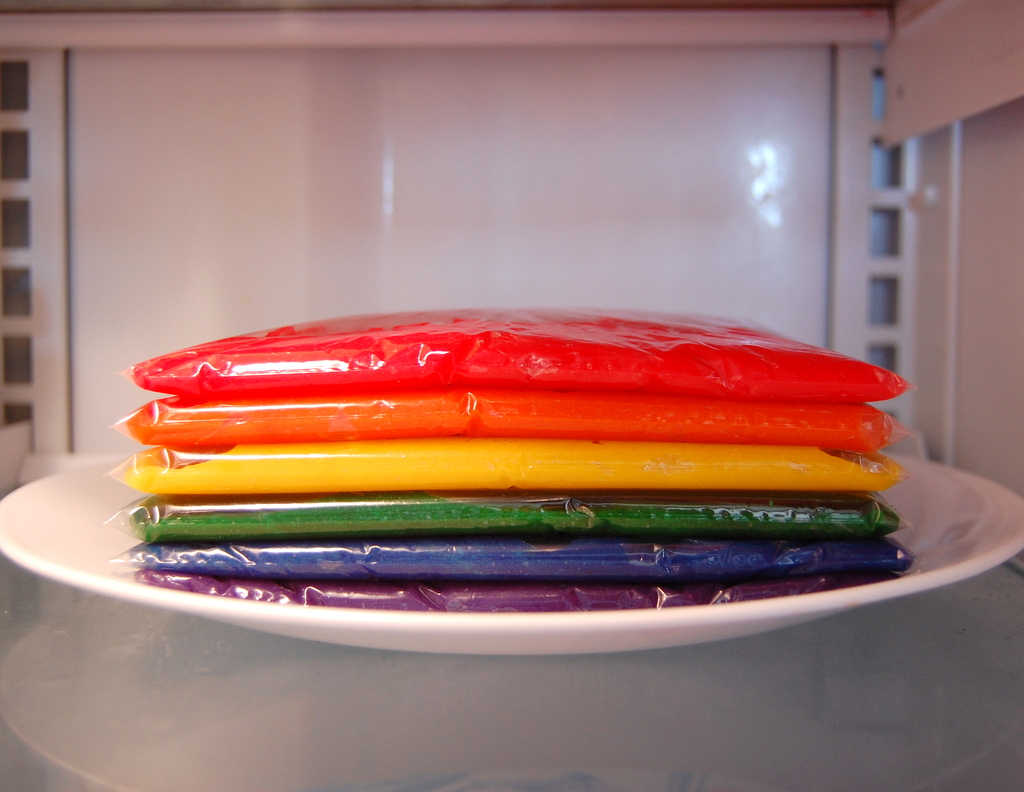
This is where it all went to hell.
Learn from my mistake. DO NOT DO THIS.
STEP 6
Take the dough out of the fridge and cut the Ziplock bags open.
WHAT SHOULD HAVE HAPPENED NEXT:
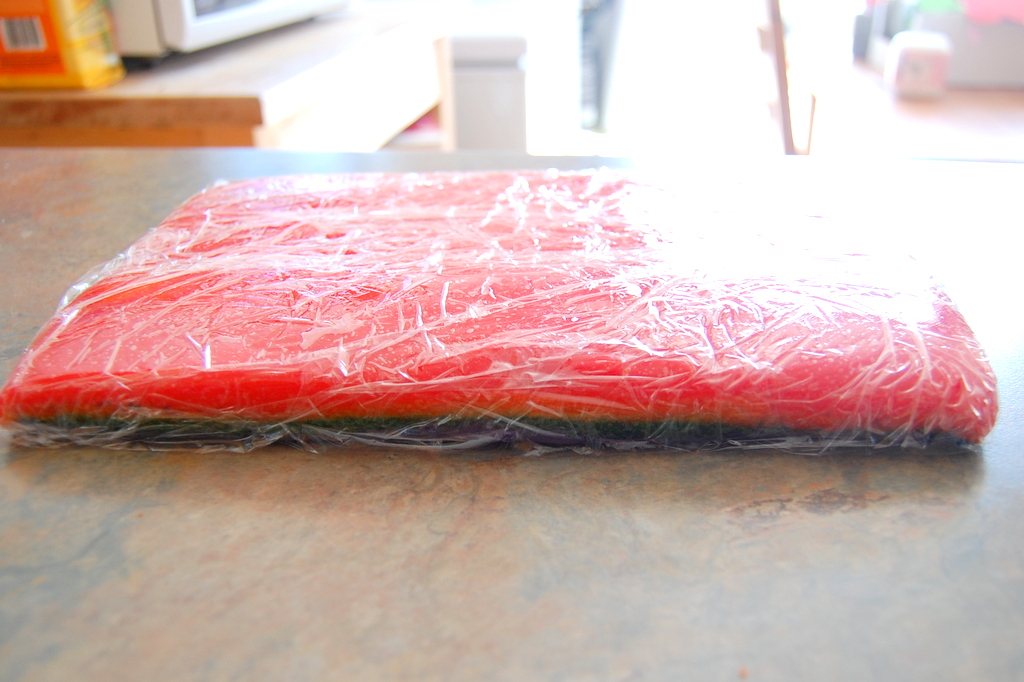
You’re supposed to place the layers on top of each other, then wrap them in plastic cling wrap and put them in the freezer. This should ideally create a rainbow sugar cookie dough that you can then slice and bake.
WHAT DID HAPPEN:
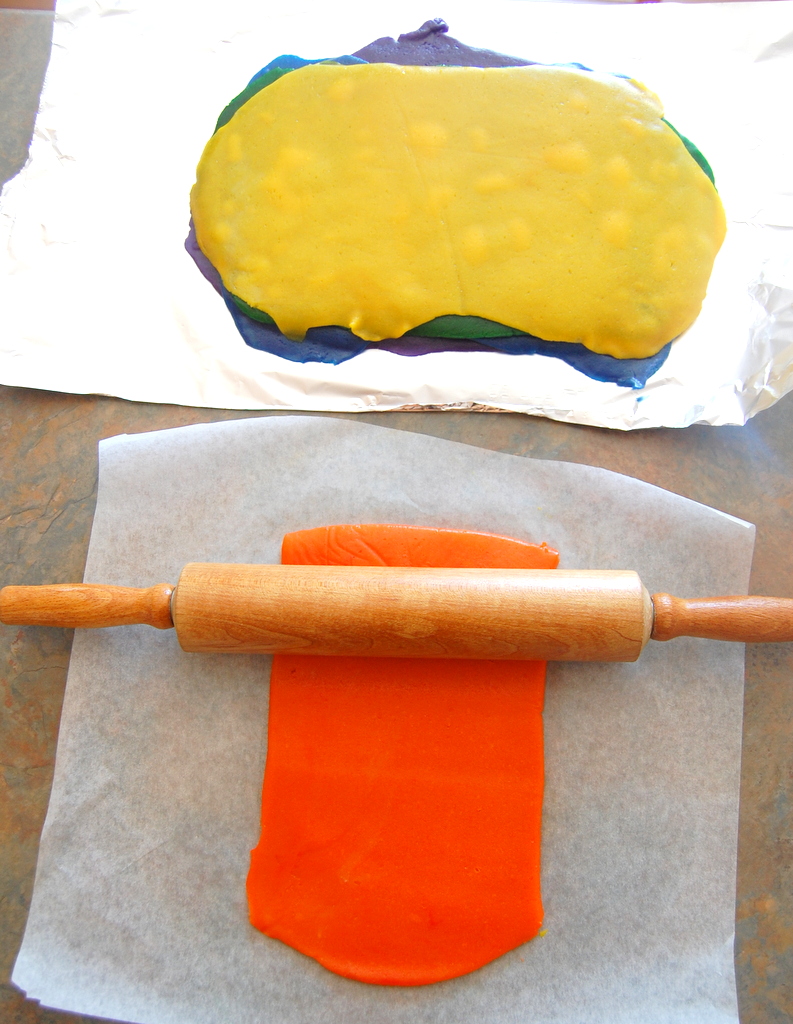
I don’t know what on earth didn’t calculate from my brain to my hands operating the rolling pin. I was supposed to roll each square of dough into a roughly 6 x 9 inch rectangle.
This is obviously NOT a 6 x 9 inch rectangle.
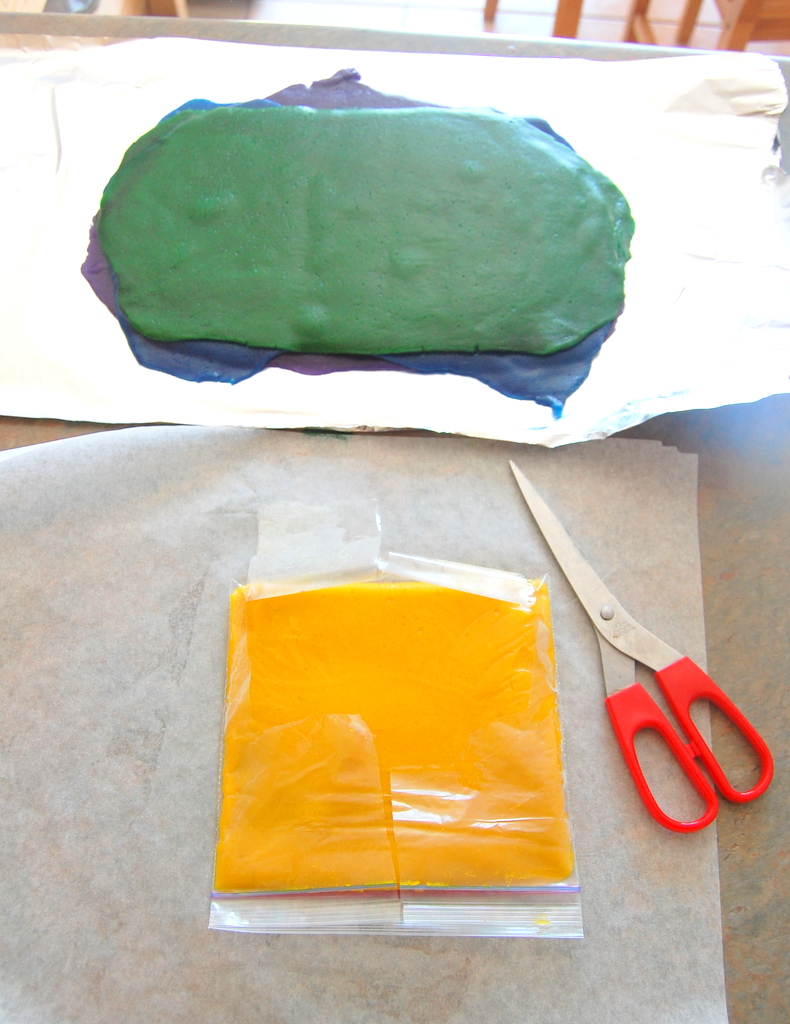
9 x 12. Maybe. If I’m lucky.
By this point the sugar cookie layers were thin, flattened and stuck to each other. I couldn’t peel them back without mixing the colors.
Believe me, I so would tried.
For the record, a standard Ziplock sandwich bag is 6.5″ x 5 7/8″
This was the worst time ever to have a brain fart moment of “Why did you even roll the dough?”
I knew I had royally messed up.
It way too thin. It is NOT supposed to look like this.
I thought, Ok let’s try and salvage this. Maybe I can make rainbow stick cookies.
Into the freezer they went to harden the dough.
I later cut them into slices and attempted to bake.
Batch #1.
Burnt to a crisp in just 8 minutes of baking at 350 degrees.

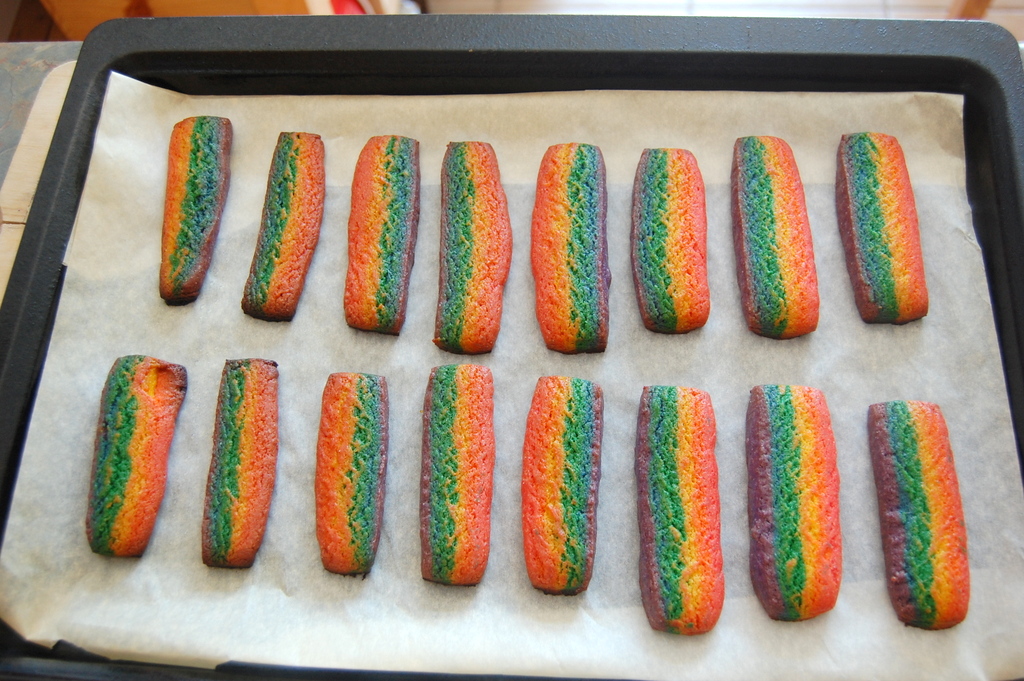
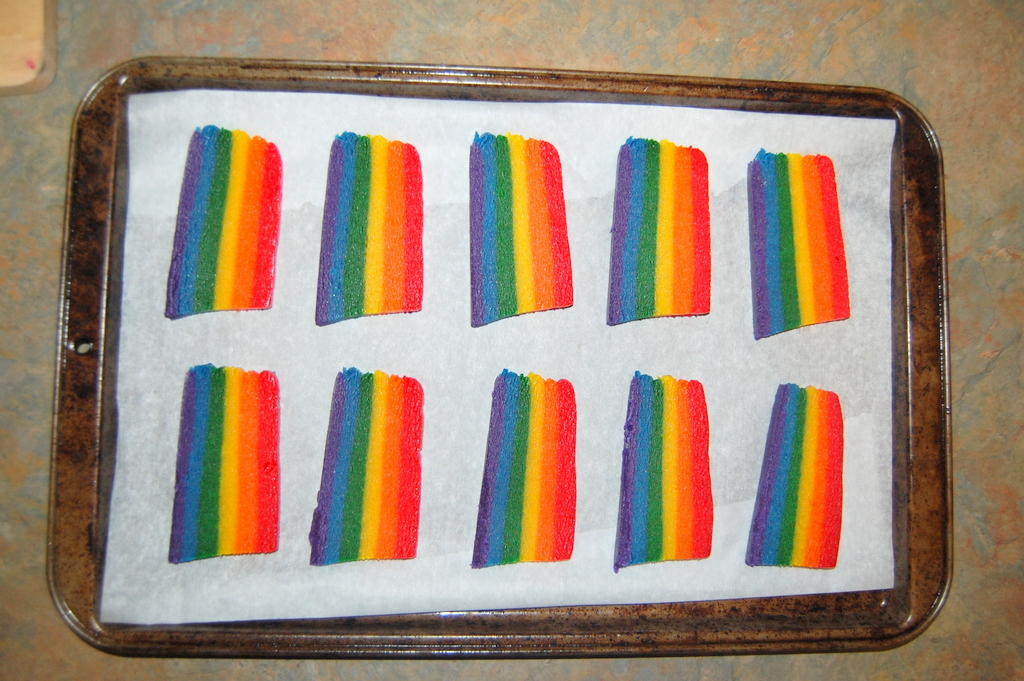
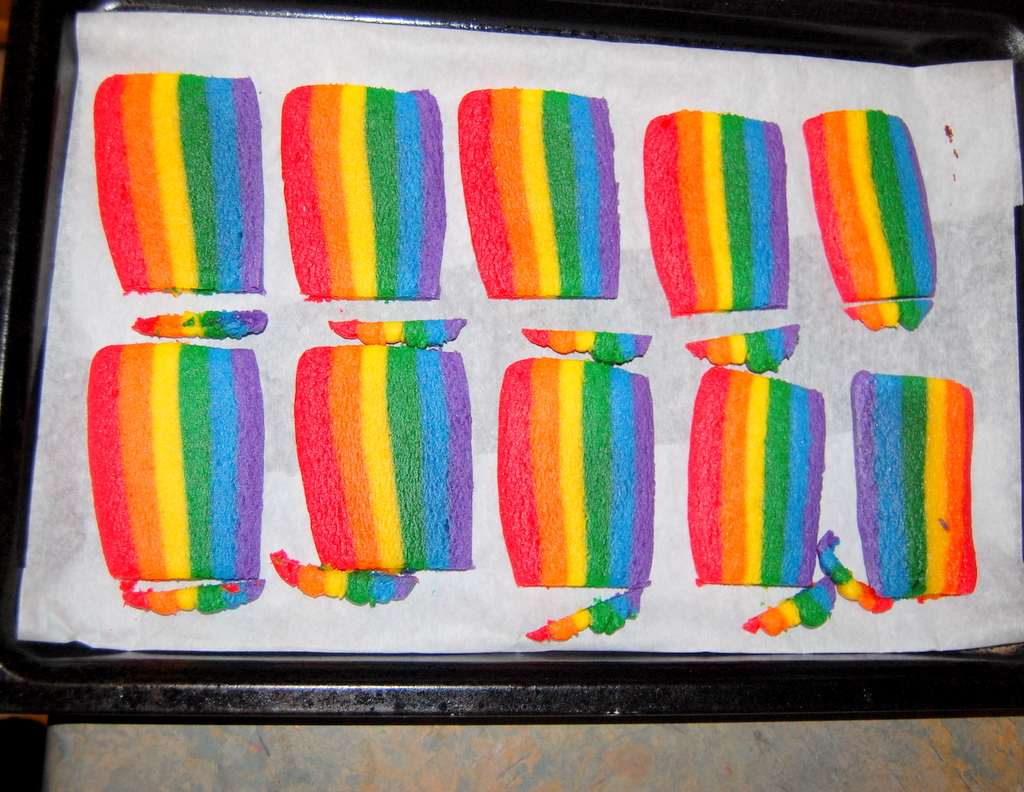
Batch # 2.
6 minutes in 350 degrees. Better but the colors bled into each other. Not the effect it was supposed to have.
Did I mention they tasted like crap because the recipe I followed (not the original one) was obviously a bad sugar cookie recipe?
Let me tell you, this photo does them way too much justice. I was so determined at this point to make these cookies.
So I re-did them.
Yes the whole process. Which by the end of it, I was a master dough kneader. And my arms were killing me. KILLING.
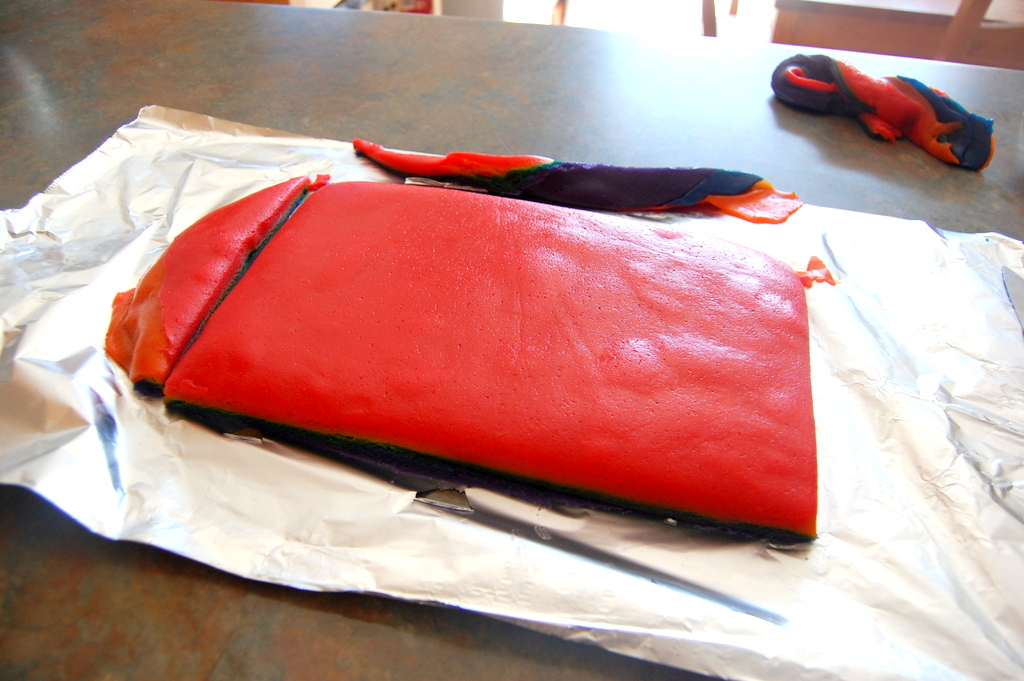
What did I do differently this time?
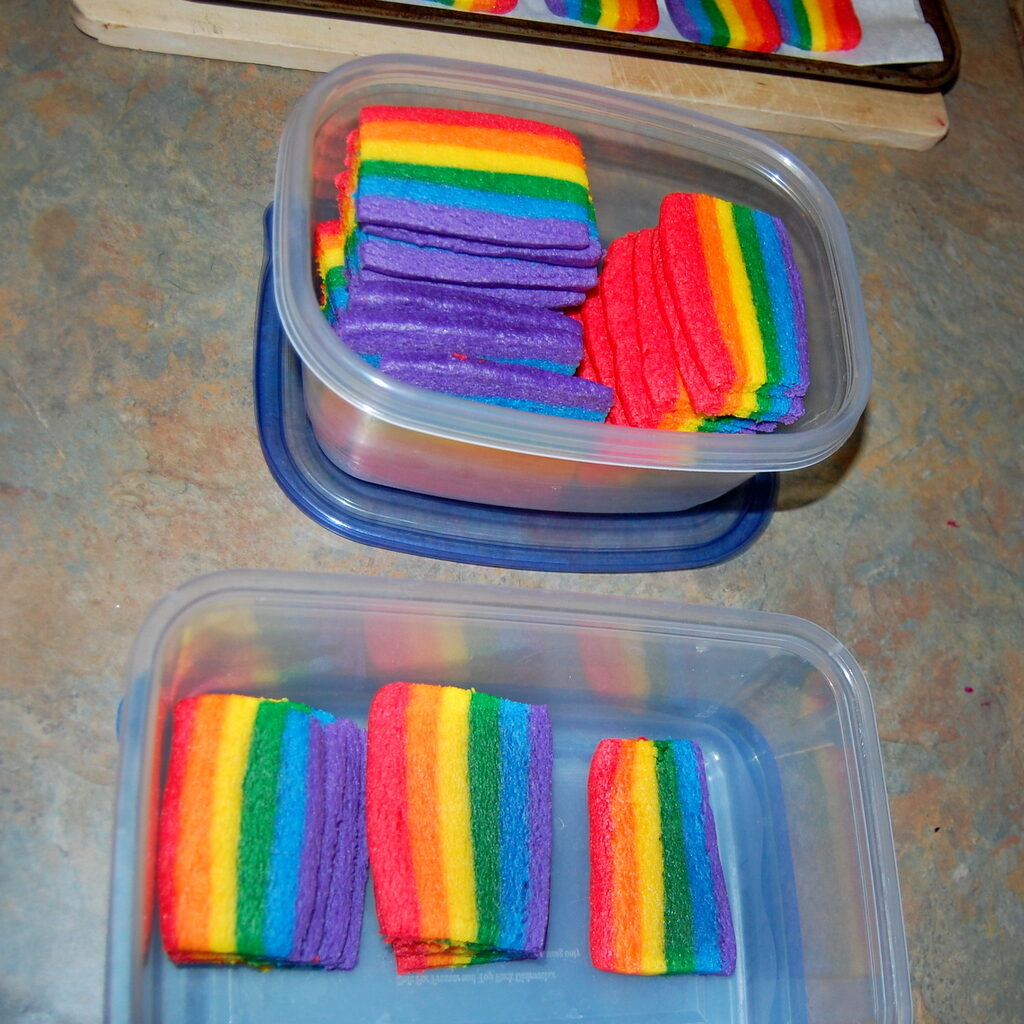
This time, all I did was cut the dough out of the Ziplock sandwich bags and lay them on top of each other. As seen in the photo below.
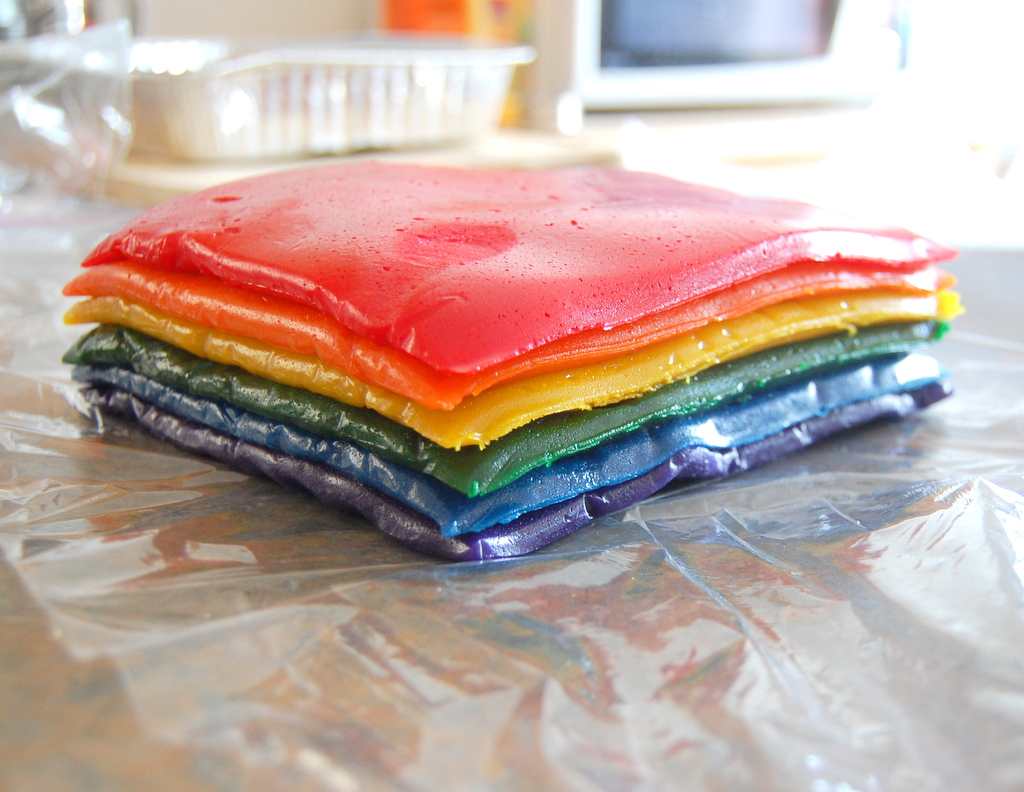
DO NOT ROLL OUT THE DOUGH.
And I used a different sugar cookie recipe.
TIP: Whatever sugar cookie recipe you use, make sure it it one that does not spread when baked.
Wrapped it in plastic cling wrap.
I also froze the dough.
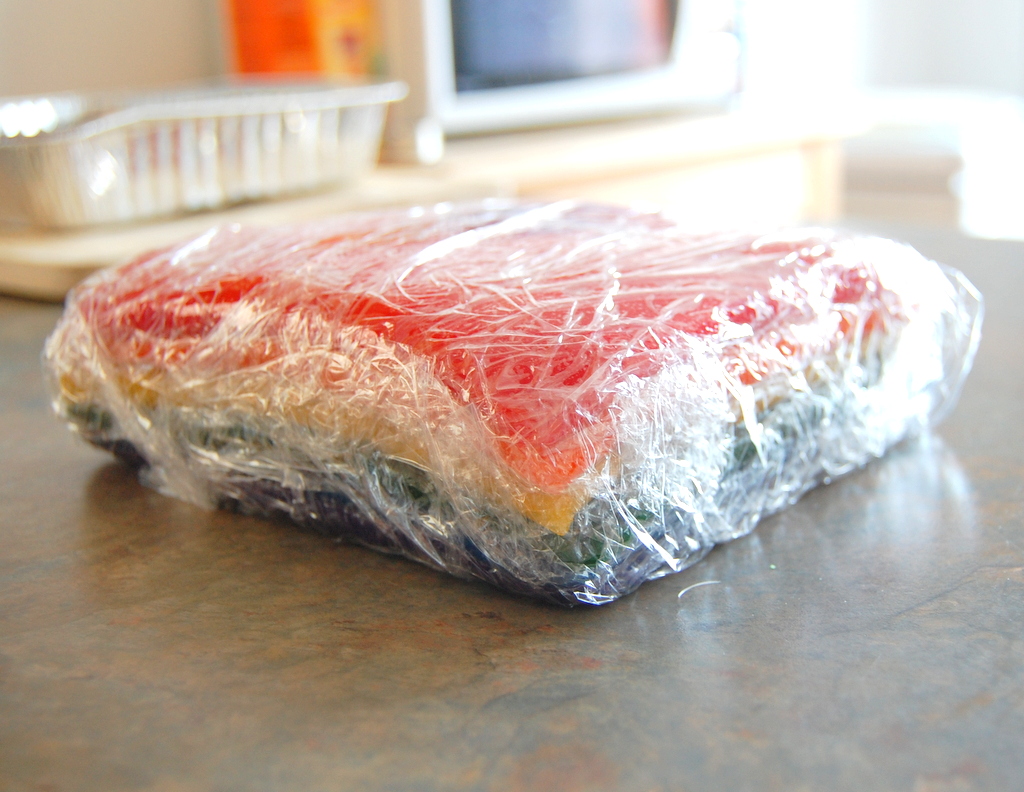
FREEZE YOUR DOUGH. DO NOT SKIP THIS STEP.
Then I cut and sliced the dough when it was practically still rock solid.
This made a HUGE difference in the colors not bleeding into each other. If you attempt to do this in a hot environment, your dough will melt and you lose control over your color layers.
It was very late at night at this point. I know, you think I am crazy. This is how much I love my kids. And I am stubborn.
BAKING ATTEMPT # 3
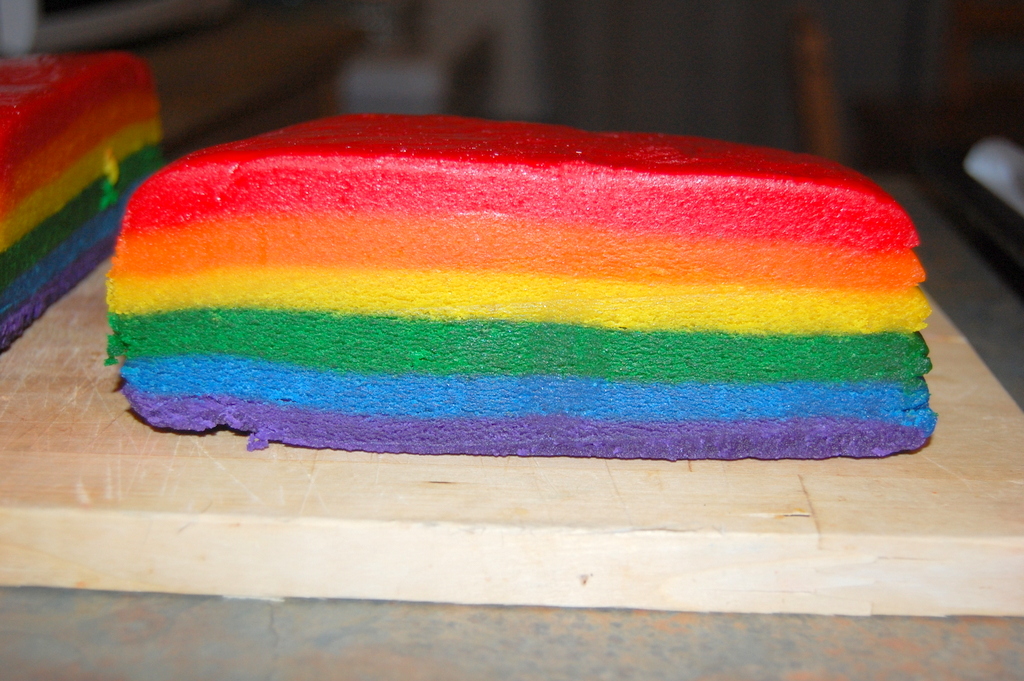
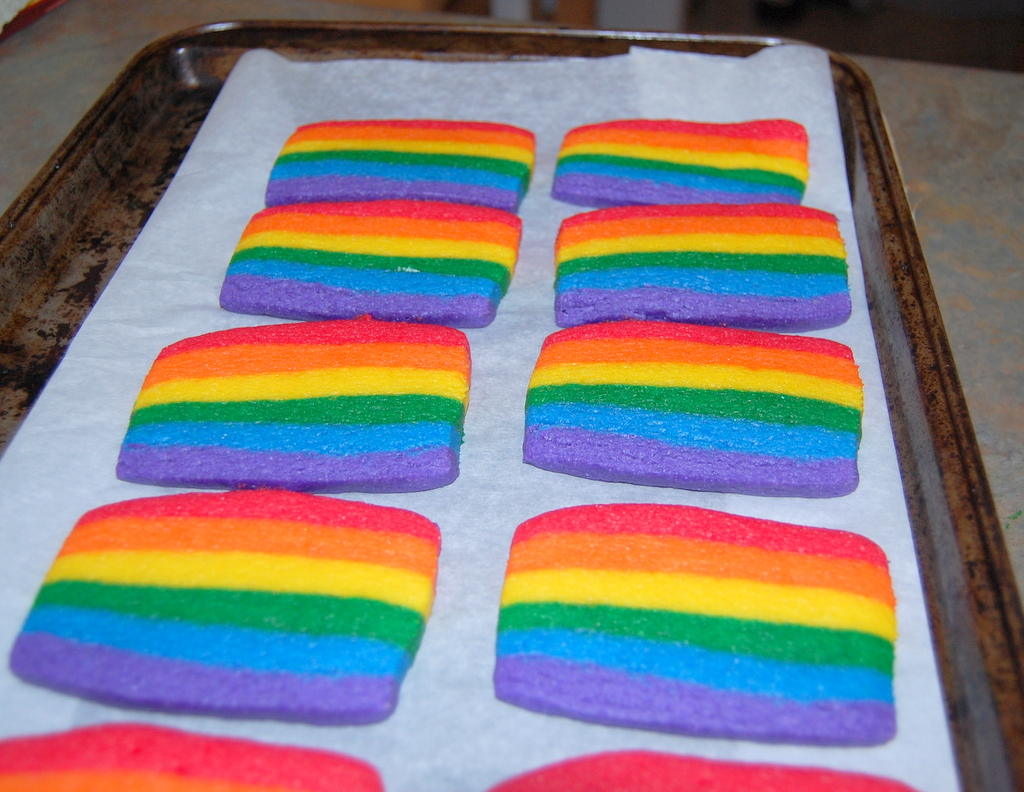
Here is the thicker rainbow cookie batch, sliced and ready to go into the oven.
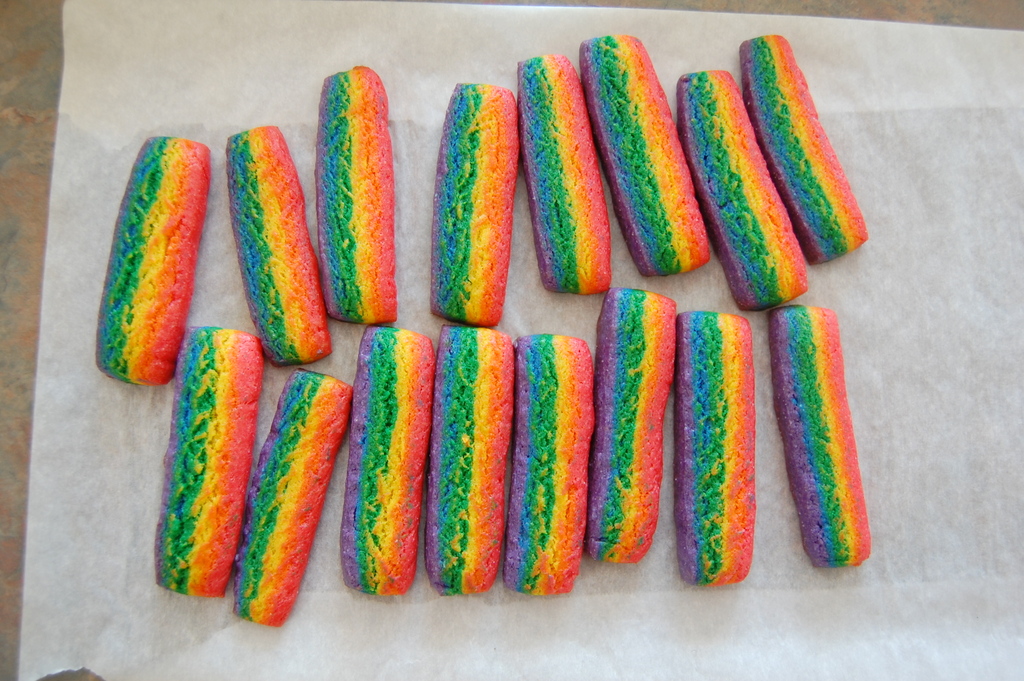
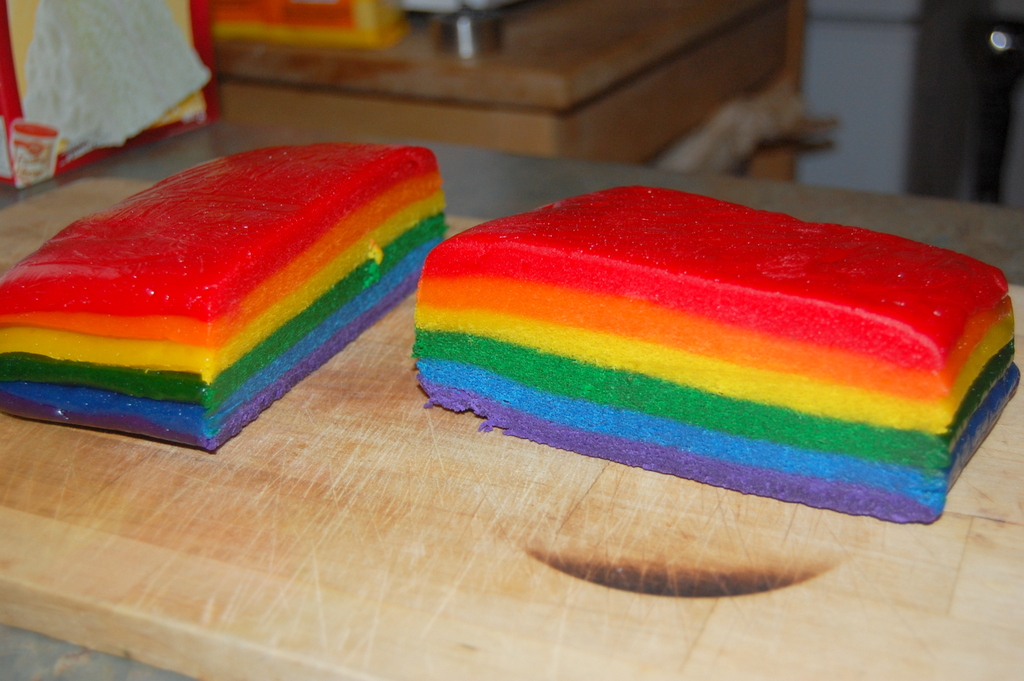
And SUCCESS!!
This is what they’re supposed to look like.
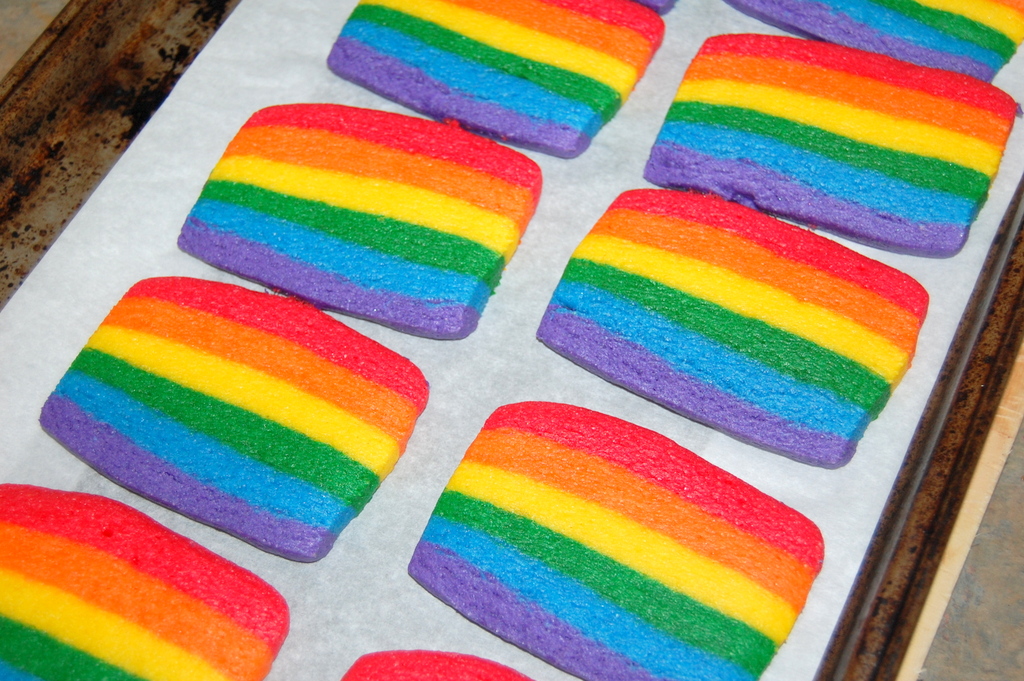
This was 6 minutes at 350 degrees. My oven is obviously wacko and very old, so your temp may vary. Just monitor them.
Better yet, try this without food coloring in your favorite sugar cookie recipe first. That way, you can judge the time where the edges start to get burnt. You do not want that. You want those cookies out of there before any browning takes place.
Repeat with entire batch. Wind up with a bazillion rainbow slice cookies. Moral of the story is, you too can bake if you set your mind to it. And not sleep.
And for the love of all that is good and your sanity, don’t roll out your Ziplock dough!!
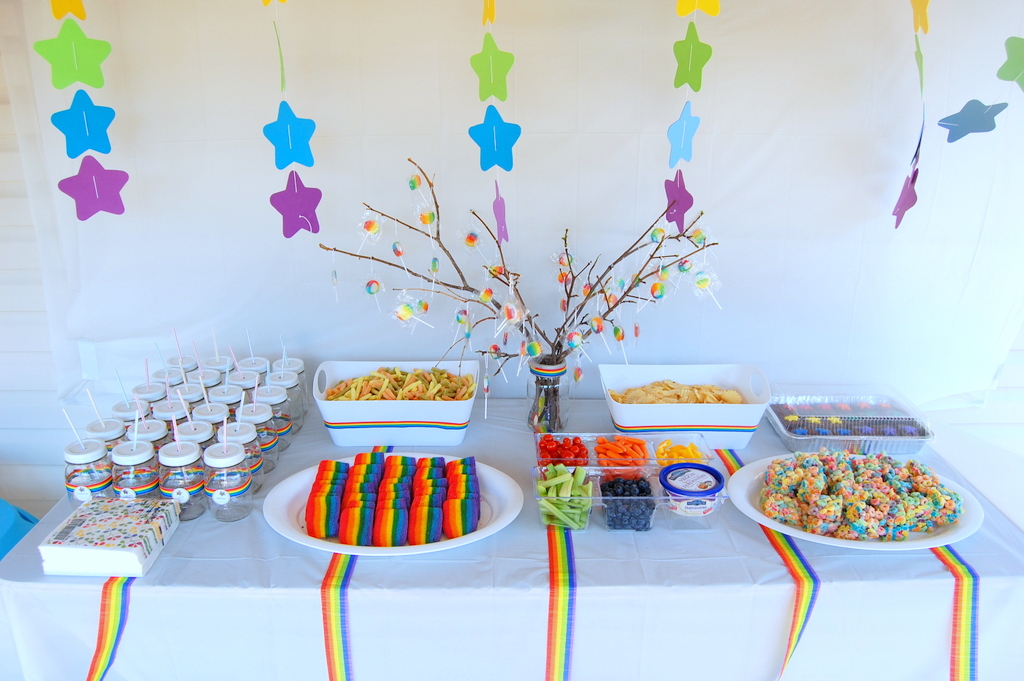
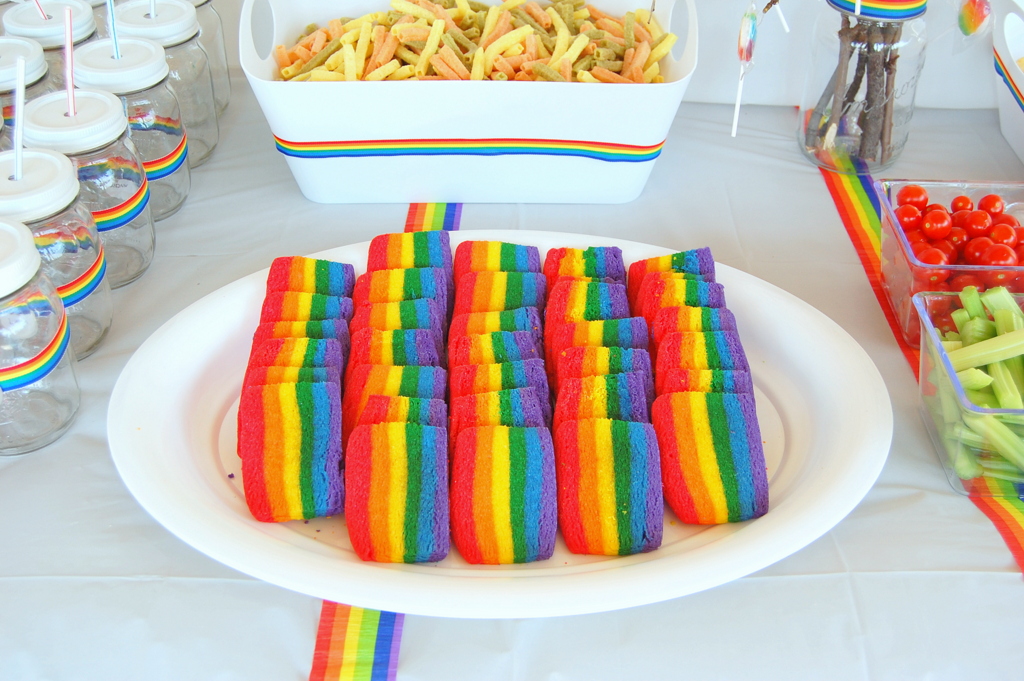
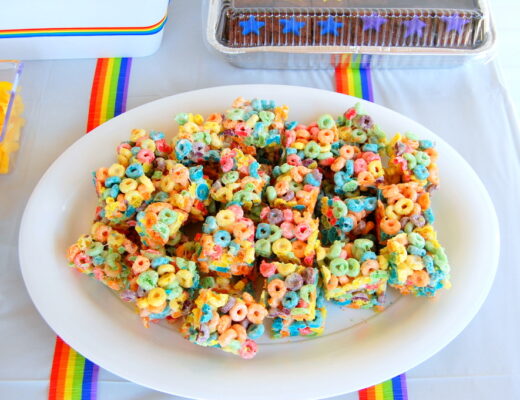
Here they were at the Rainbow Birthday Party!
I am never making these again. The End.
But if you decide to try and have any questions, ask away in the comments!
NOTE: This post was written back in the early 2010’s and is part of a throw back post series from my first blog when I hosted a Rainbow Themed Birthday Party for our daughter. I have updated it over the years because so many people get a kick out of the story. If I made you laugh, or made your experience baking these easier, I’ve done my job.

No Comments