
I am going to teach you how to make the easy version of Rainbow Cake. This the cheat version folks. Because the first time I tried to do the famous Rainbow Cake started by Whisk Kid, it turned out like this:
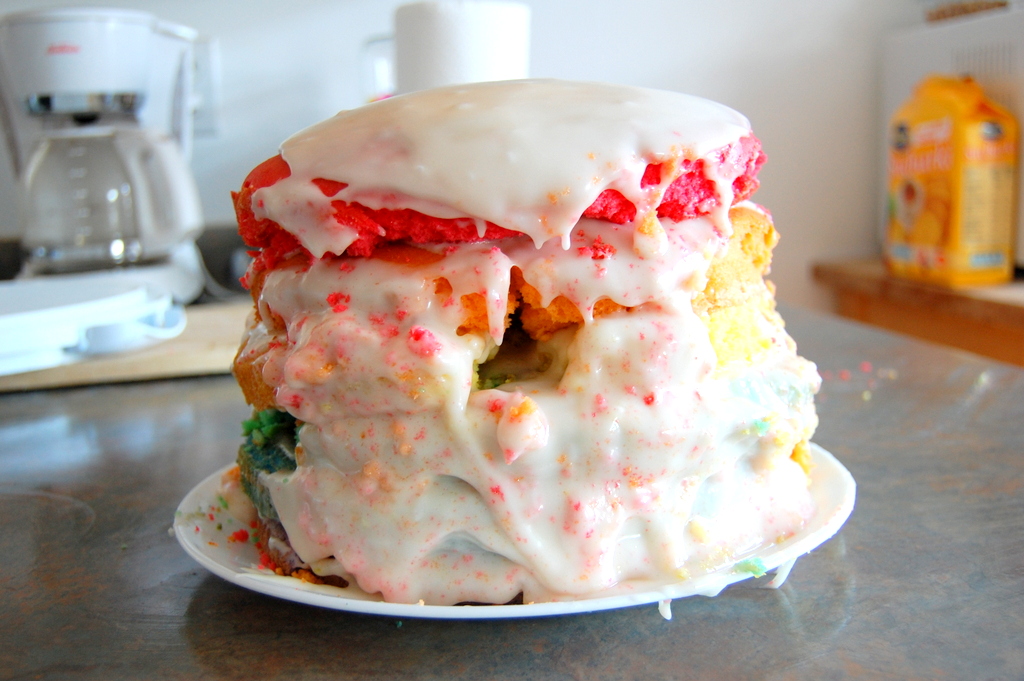
Go ahead.
Take it in. Has your hand left covering your mouth yet so you can scream, “What the f— happened?”
Yeah I cried. No really.
I was doing a test run of it for a family BBQ and it just imploded onto itself with my saucy homemade frosting. I thought I could make frosting from icing sugar. Me. Oh that’s funny.
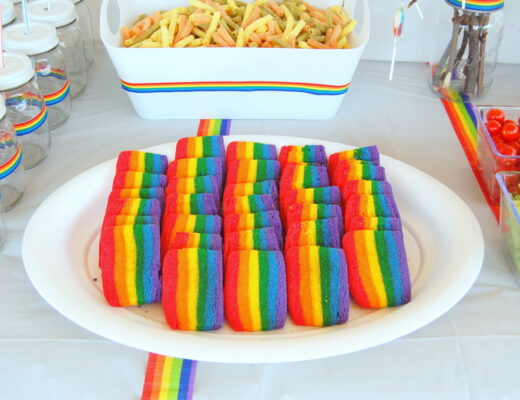
I was so mad after that waste of time that I actually whipped up a batch of rainbow cupcakes after the fact to prove that I could still actually bake something.
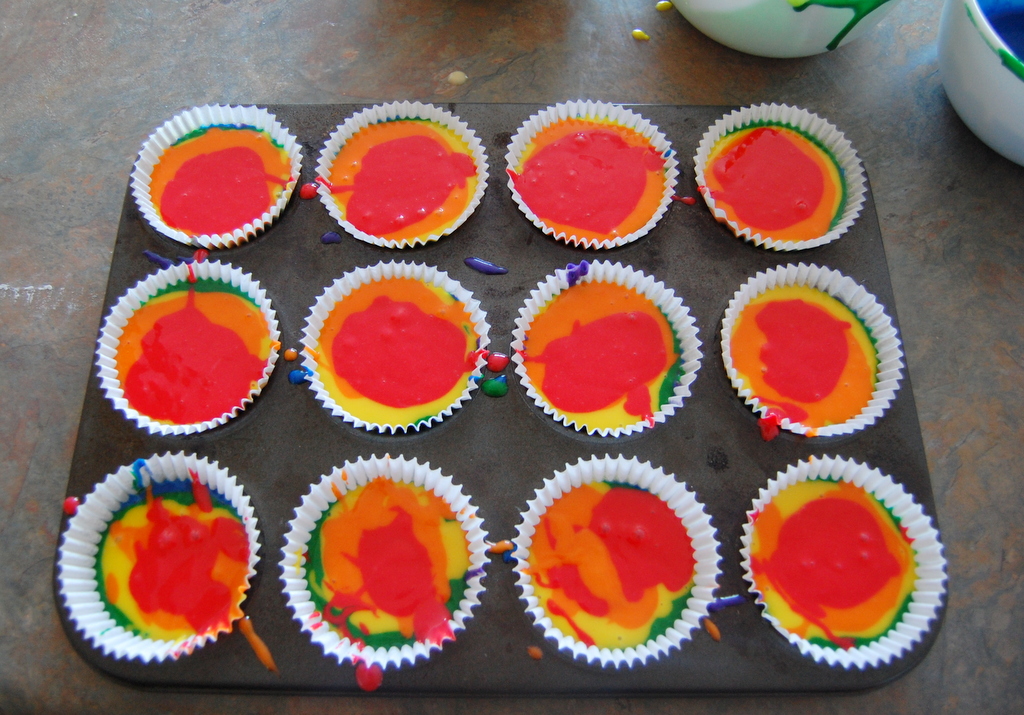
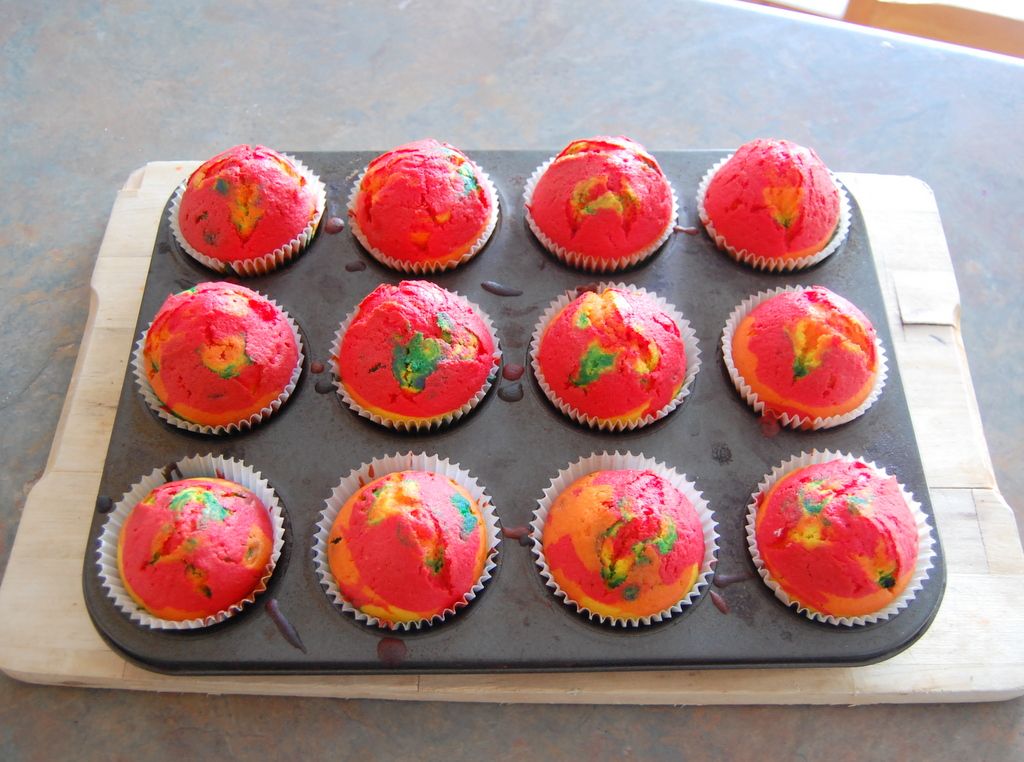
Ok there was hope yet.
So when it came time to do the actual “Rainbow Birthday Party” Rainbow cake, I went to what I like to call the Easy Rainbow cake – Cheat version that I modified from the Rainbow Cake recipe on the show Best Recipes Ever. They gave me the idea of using a color layer of the cake made from icing vs cake batter. I did this last year for my older daughter’s birthday and it worked so I figure if it ain’t broke, don’t fix it.
HOW EASY IS THIS EASY RAINBOW CAKE RECIPE?
Easy.
This is the you don’t have to make 6 layers of cake and 6 layers of icing, and pray it doesn’t topple over with your dowels or straws plugged in holding it in place version.
You only make 4 thin layers of cake and 2 layers of icing, and still get the same Rainbow effect when you cut in.
This is a one day cake recipe. You know the kind that you go, “Oh that has to be done by tomorrow? Super.” and panic sets in.
HOW MODIFIED IS THIS RAINBOW CAKE RECIPE COMPARED TO THE ORIGINAL?
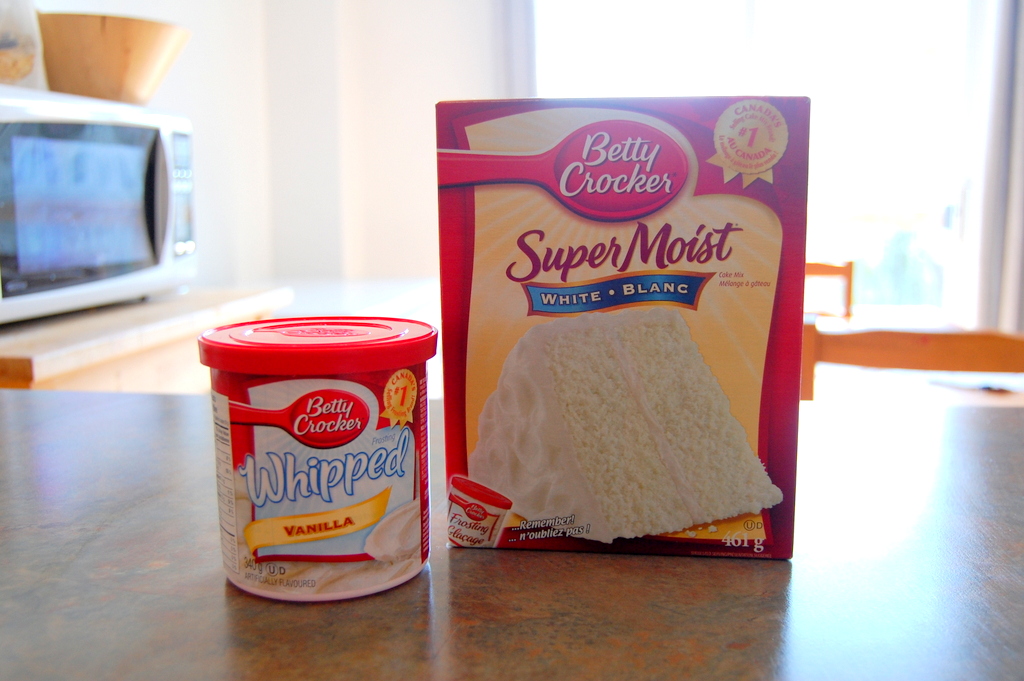
How modified is this version? Have you met my friend Betty Crocker? We go way back.
Betty makes cake mixes and icing for your busy self and can almost guarantee that your end product will be edible. Unlike your from scratch recipe that you totally thought you rocked until you bit into it.
SIDE NOTE – the back of this box tells you to use 3 egg whites for this, and if you want, you can substitute whole eggs.
Use the whole eggs.
You need a binding agent and eggs do that. If you use egg whites, your cake batter after it is baked, will be vastly more light (read: crumbly), and it won’t hold together remotely as well. I have used this box many times and have tried both ways, and I always use whole eggs with it now.
Especially when you’re baking cake layers that you can’t afford to have fall apart.
If you’re a foodie or a baker that cringes at any possibility of using a boxed mix of anything, stop reading now.
It’s only going to get worse.
So here’s what you’ll need:
- 1 box of Betty Crocker Super Moist cake mix in White (yes just one box)
- 4 containers (possibly 5) of Betty Crocker Whipped frosting (which is a very white, not cream colored frosting/icing)
***Please note this comes in a Whipped cream flavor and a Vanilla one. We used the Vanilla but if you can’t find that one, the Whipped Cream one is a bright white too. It’s just a matter of what taste you want your cake to be.
- Wilton Gel Icing Colours in all 6 shades of the rainbow
- PAM or another non-stick spray
- Four 9″ round baking pans
- Parchment or Wax paper
- Cake turntable and Icing Spatula / Smoothing tools or the whole entire kit
Before you start this, clear out enough room in your freezer that can store your cake layers.
It’s part of the process.
Step 1
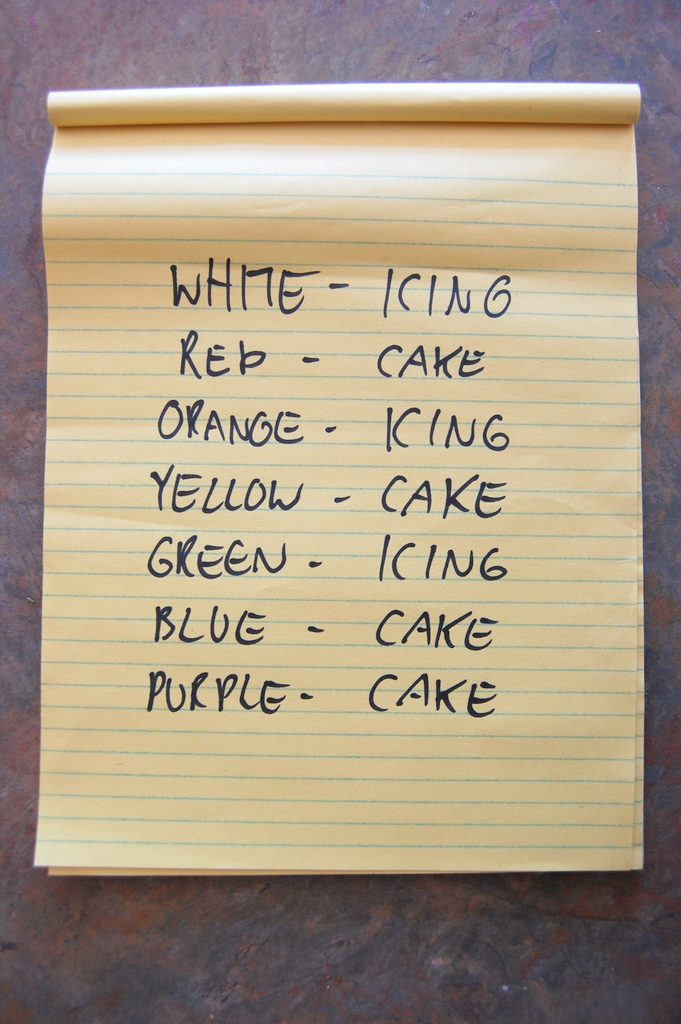
Write out your cake color layer list. Laugh all you want, when it’s 6 hours later and you’re tired, I promise you this chart will make you very happy to have it to refer to.
Step 2
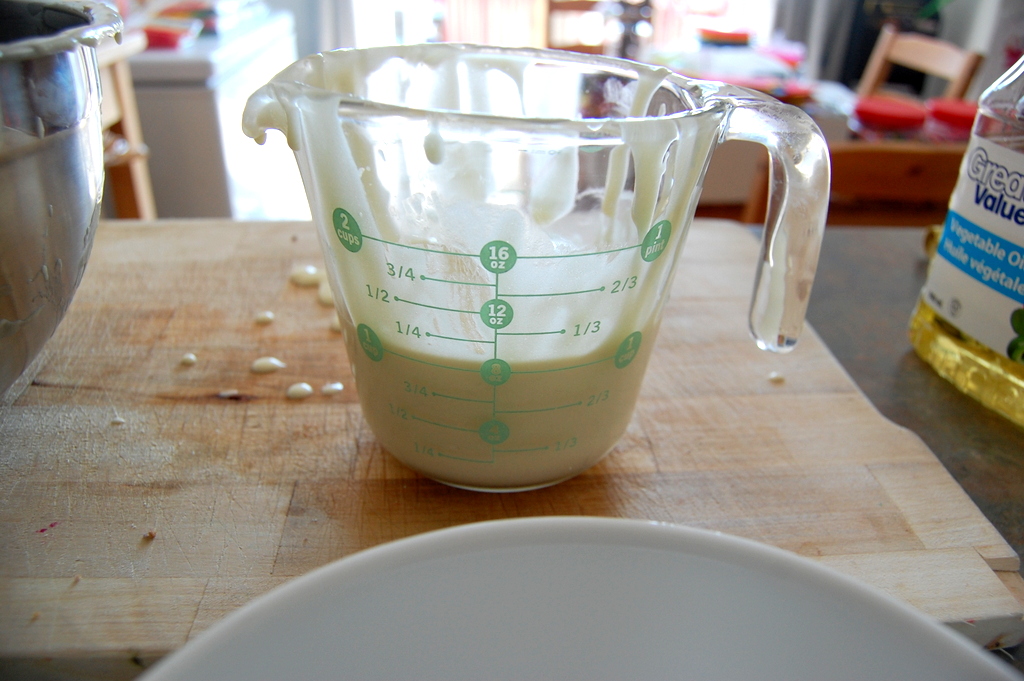
Make up cake batter mix as per box instructions. Measure out 1 cup of the batter and pour each cup into your cake baking pans. That way you have an even amount of batter in each pan. If you have a scale you can do this by weight.
Step 3
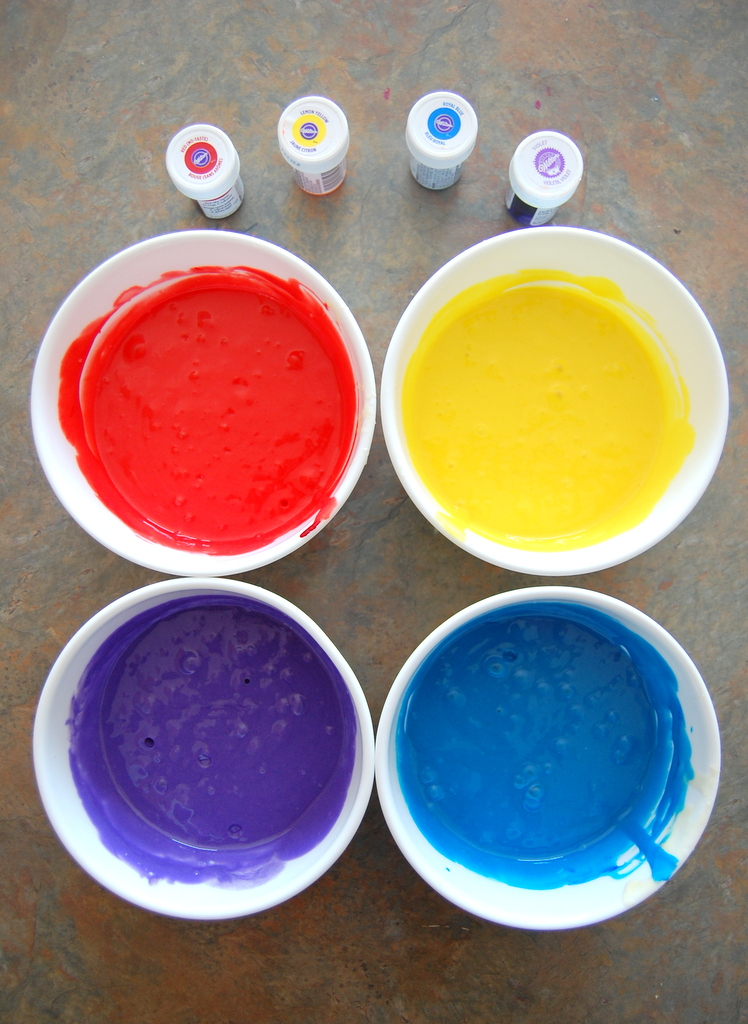
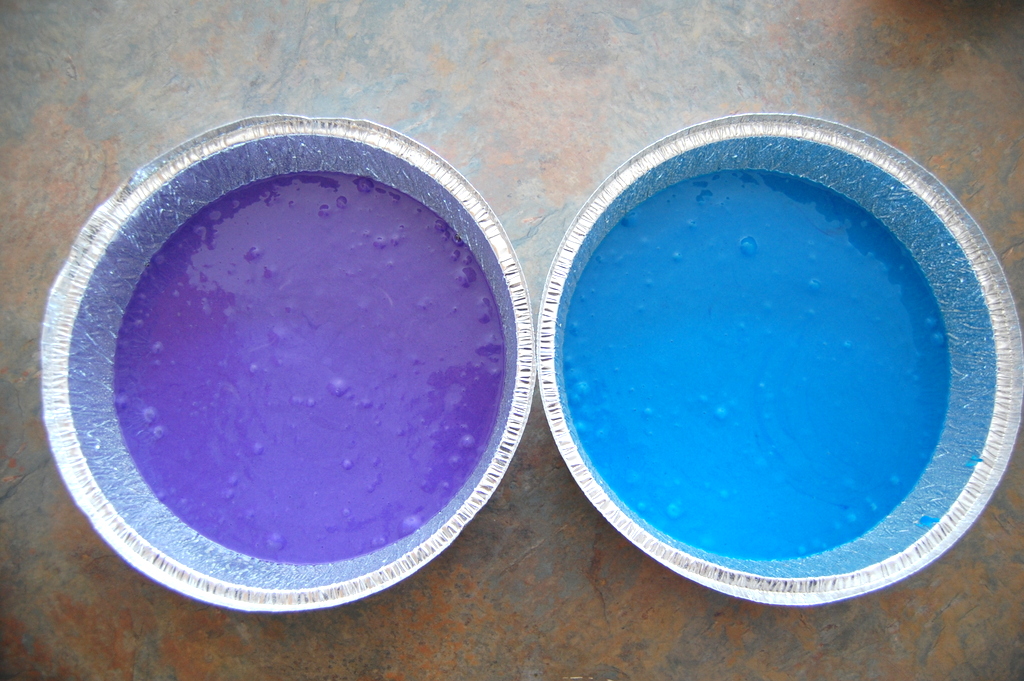
Mix up your Red, Yellow, Blue and Green cake color batters.
Coat cake pans with Pam/cooking spray.
Pour in batter.
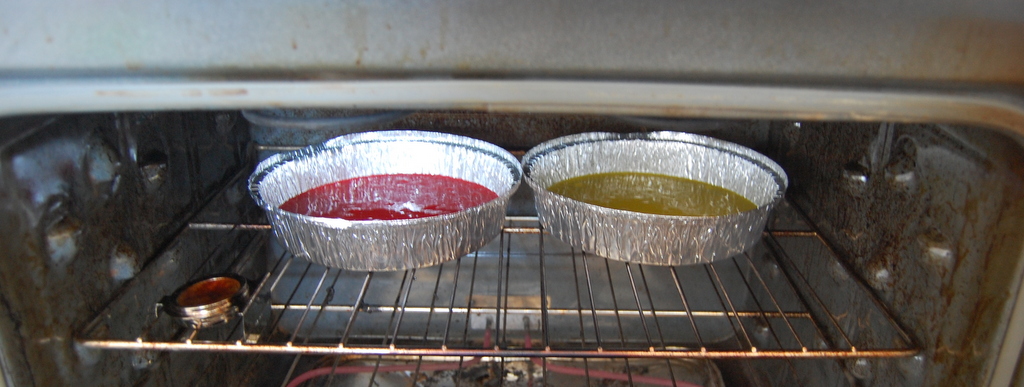
Step 4 – RAINBOW CAKE BAKING TIMES **IMPORTANT**
Bake 2 pans in the oven at a time for HALF THE TIME it says on the box. I repeat, half the time it says on the box.
Normally you wouldn’t have split up that batter into 4 pans – it would have been 2 pans – so each pan would have baked for approx 20-30 mins depending on your oven. (The Betty Crocker box says 25-30 mins for a 9″ pan.)
But because the batter is split up into 4 pans (again, not 2), you don’t need to bake them as long.
For me in my oven at 350 degrees this was 10 mins. Check with a skewer to make sure they’re baked through.
Step 5
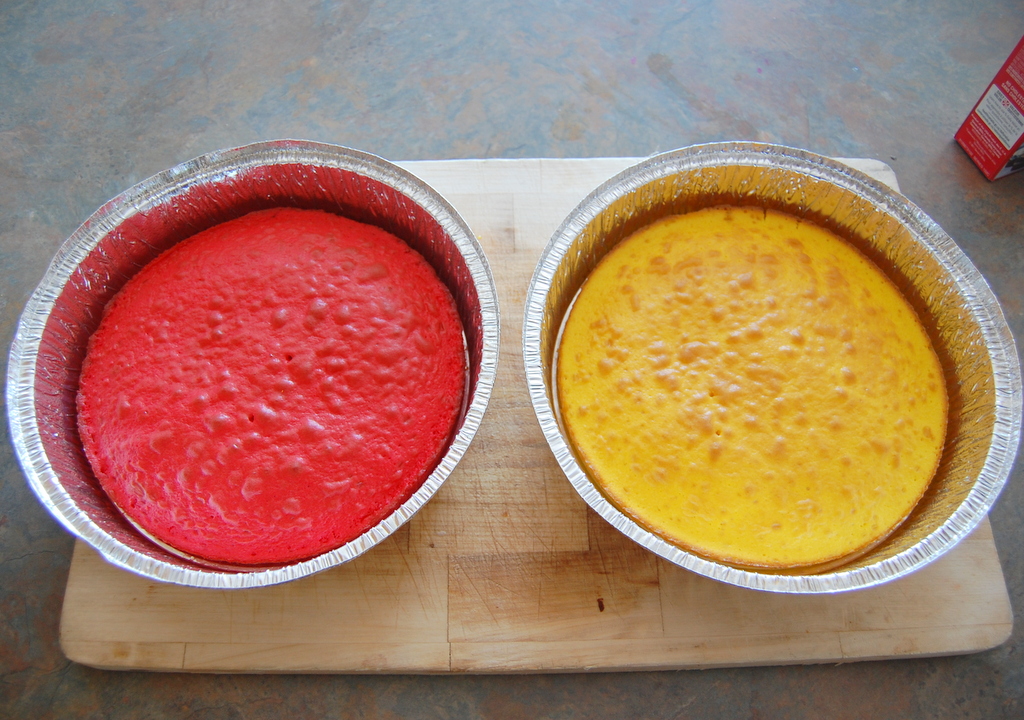
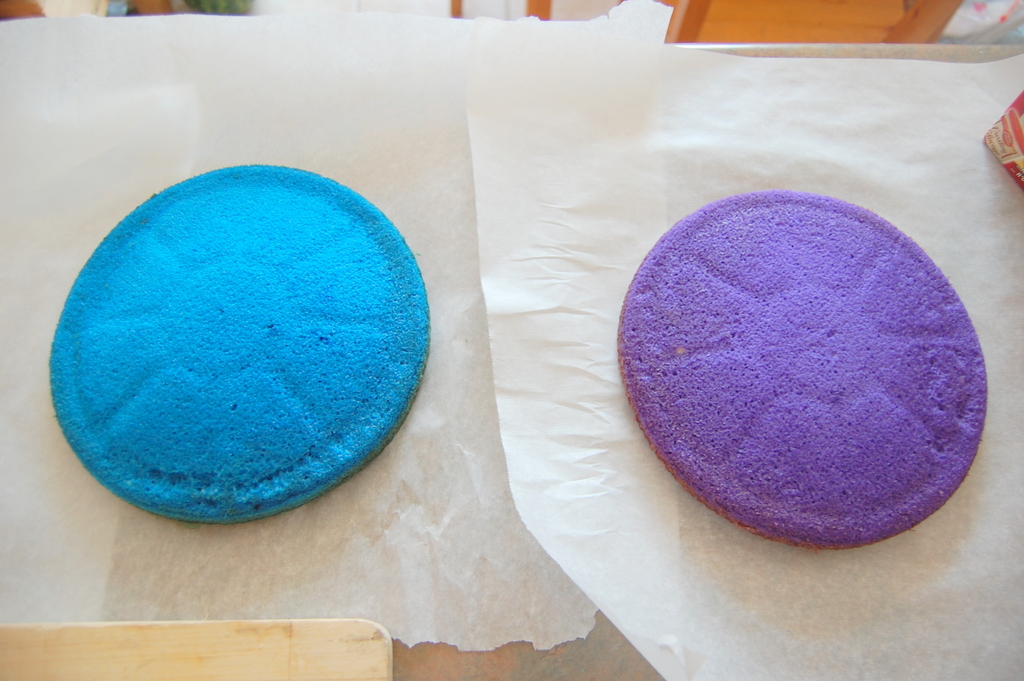
Let cool and then flip over the baked cakes onto parchment or wax paper.
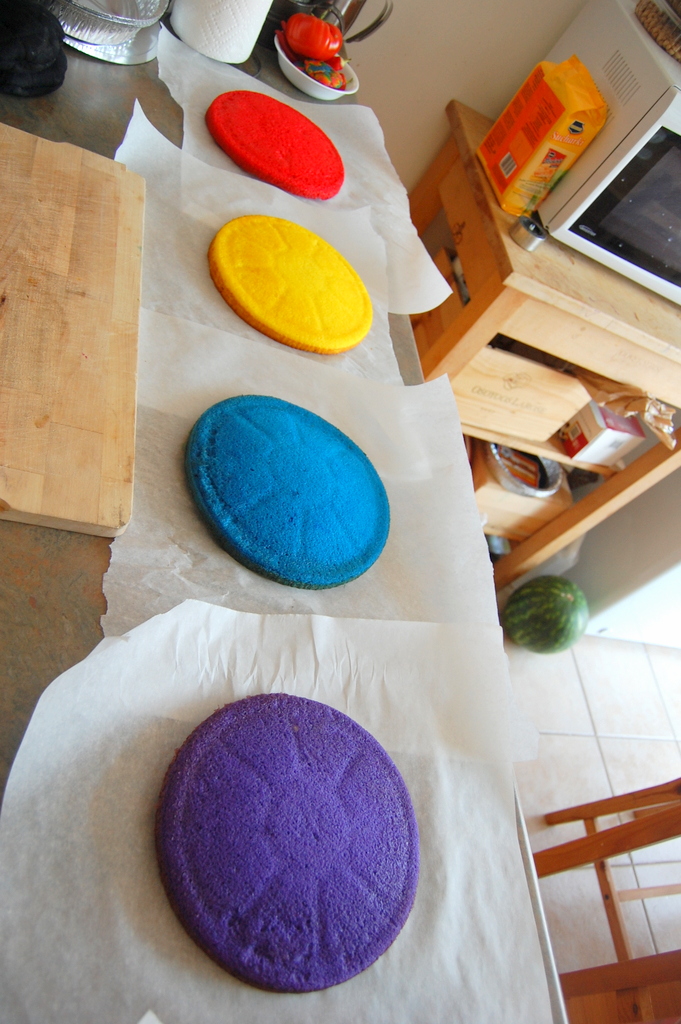
See how thin the cake layers are? This is a good thing. That means there is less to trim off to even it out and all the layers are now the same size.
I repeat, let them cool. Do not touch them. Do not go, “Oh it’s been 20 minutes maybe they’re ready to be iced now.”
Walk away.
Do something else.
In fact go to Step 6.
Step 6
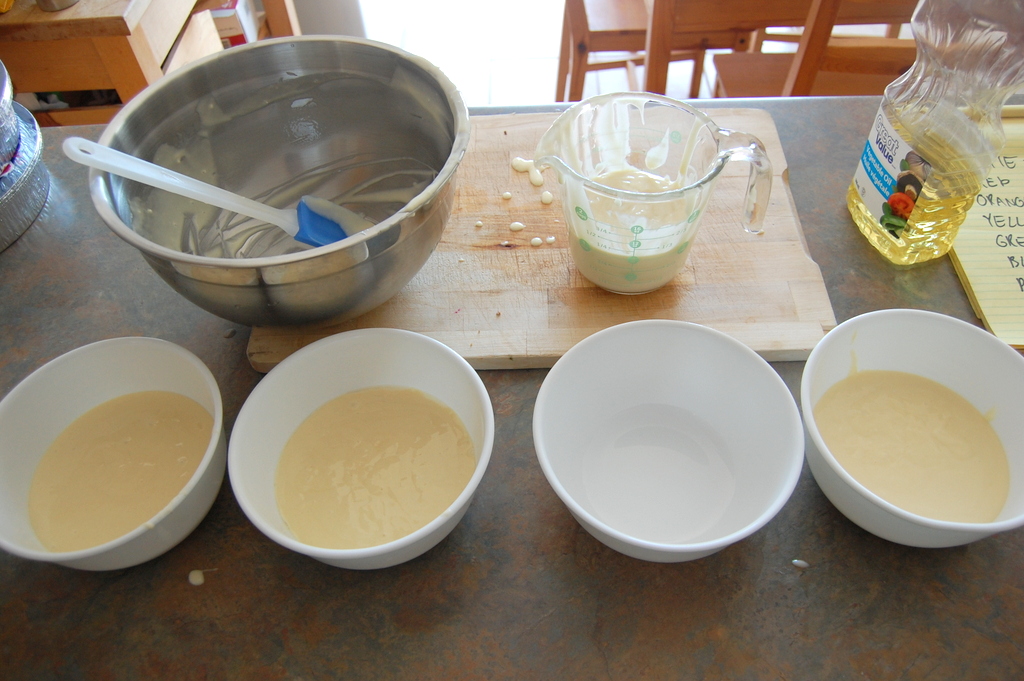
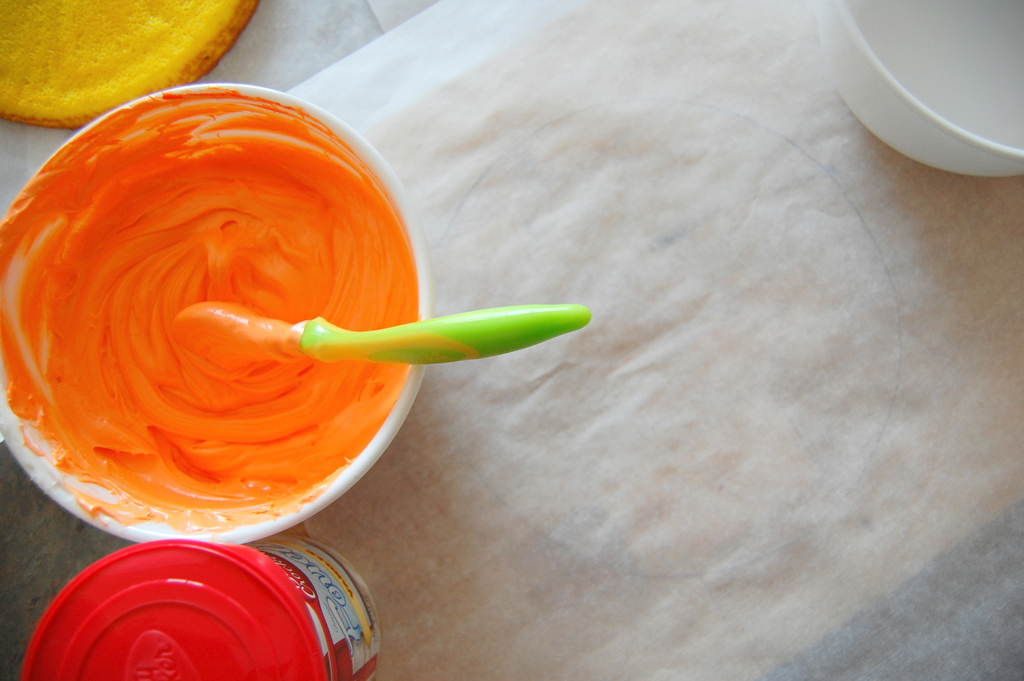
Get two of the icing containers and scoop out all the icing in each container into two separate bowls.
Add in your Orange and Green food coloring into 2 separate bowls, one per each color (yes I had to write that – you’d be amazed at how I read recipes sometimes).
TIP – THIS NEXT PART IS THE BEST CAKE ICING HACK EVER!!!
The next step I must thank Angry Julie for. This changed the way I made my cakes and it changed the ease of icing my cakes.
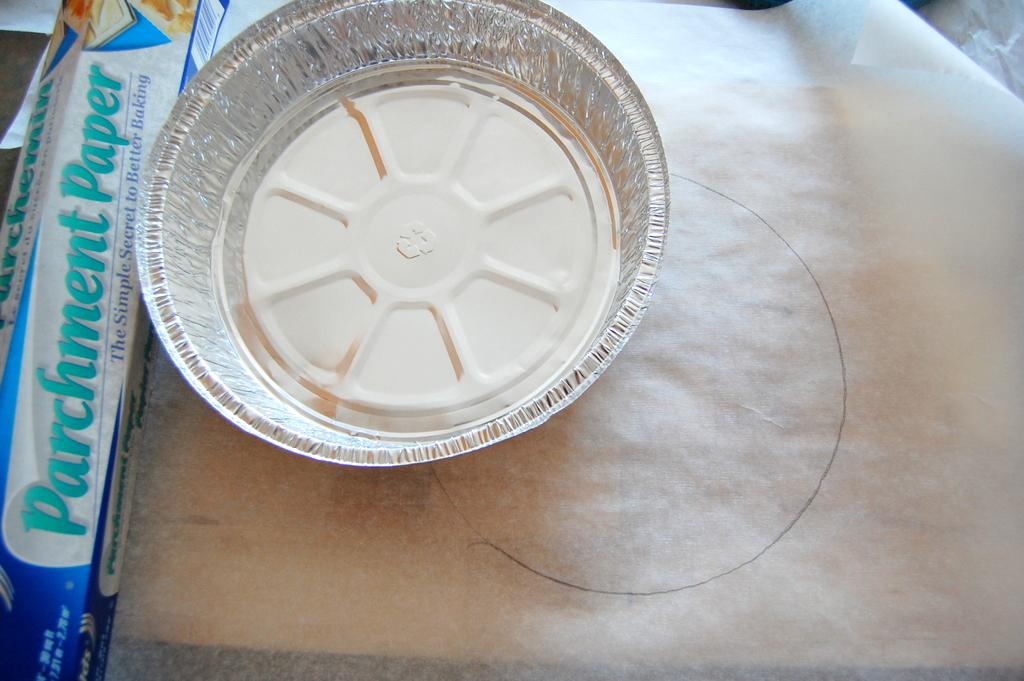
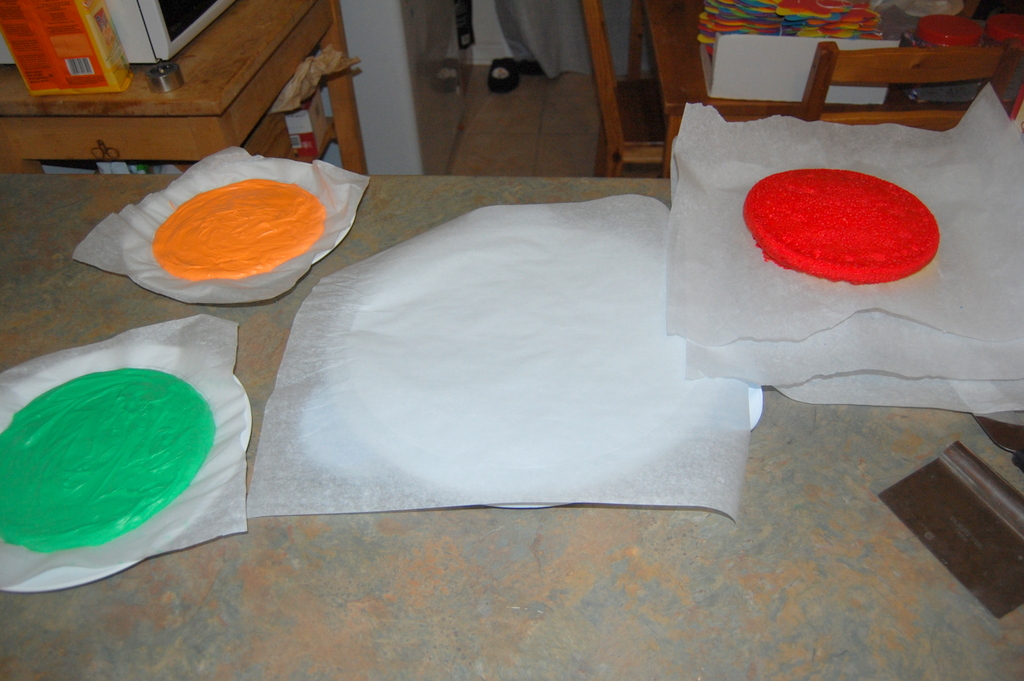
Get a piece of parchment or wax paper and trace the bottom of the cake pan onto it. Flip the paper over.
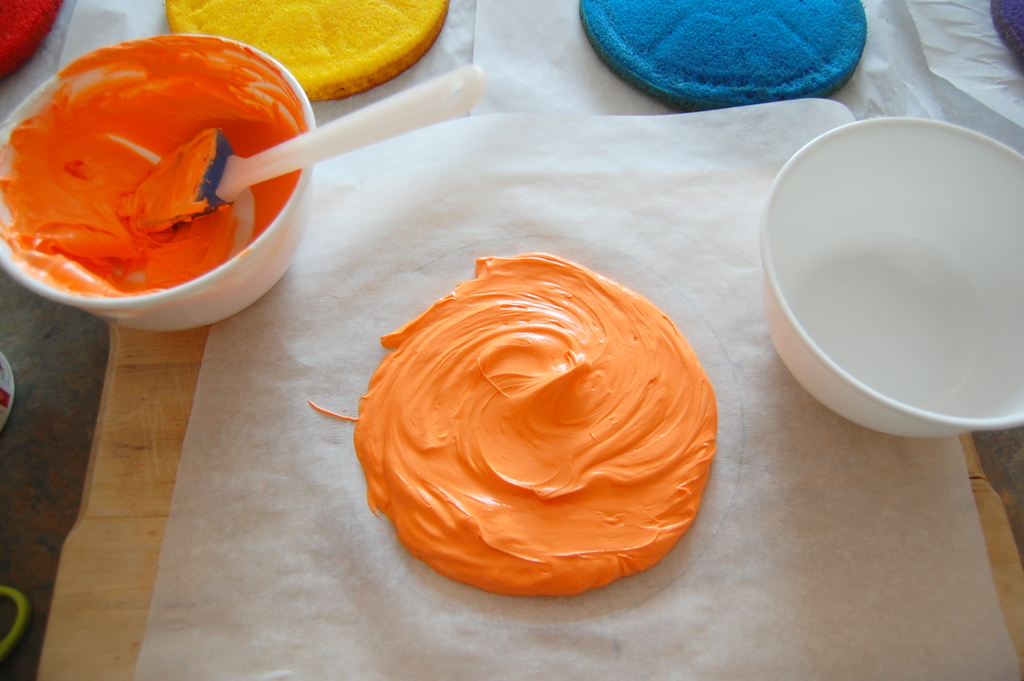
Get your icing and put almost all of it in a glob in the middle of the cake pan outline. Spread it out clockwise and then counter clockwise with a spatula until it fills out the circle outline, to create a round layer of icing.
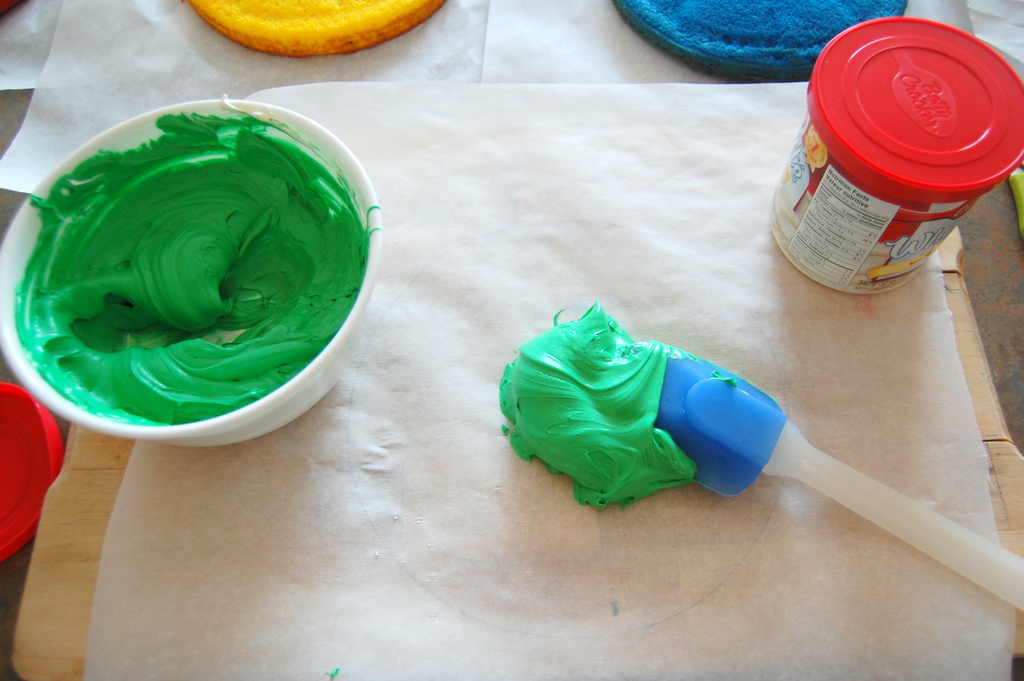
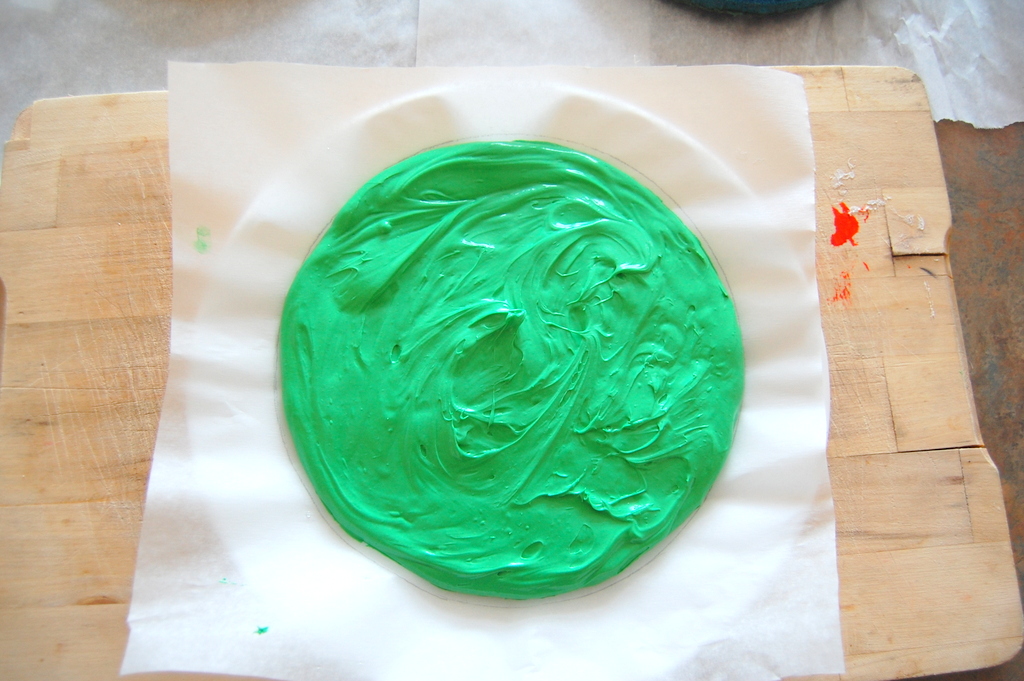
I put them both on a large round dinner plate.
Step 7
By now your cake pans should be cooled enough that you can trim off the excess rounded dome that can occur on the baked cake layers. I used a serrated bread knife.
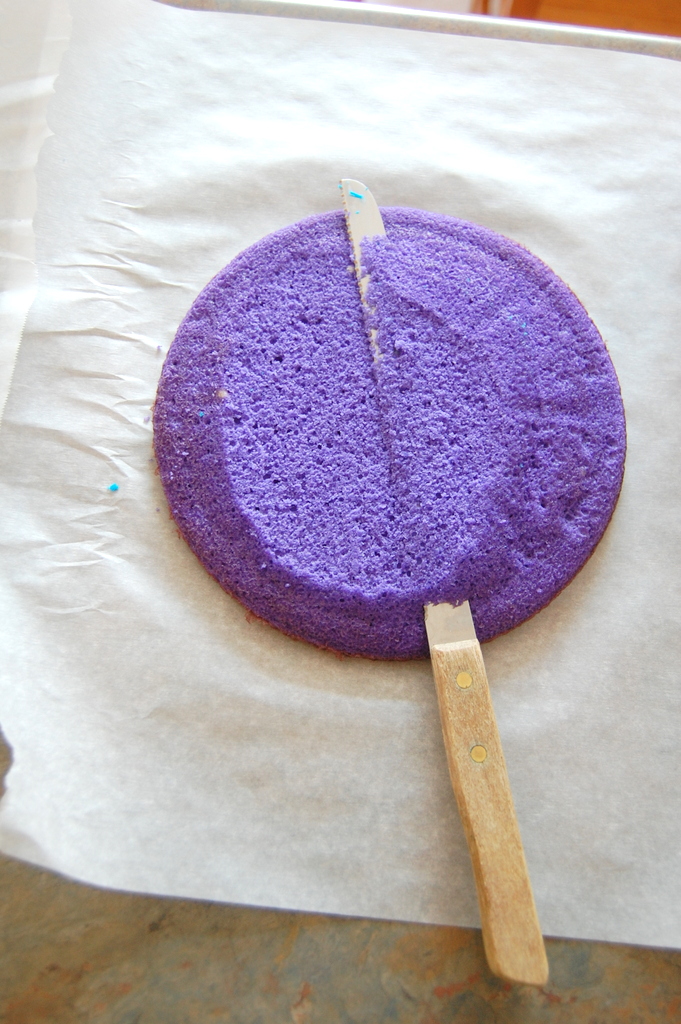
Having your layers as flat as possible is very important.
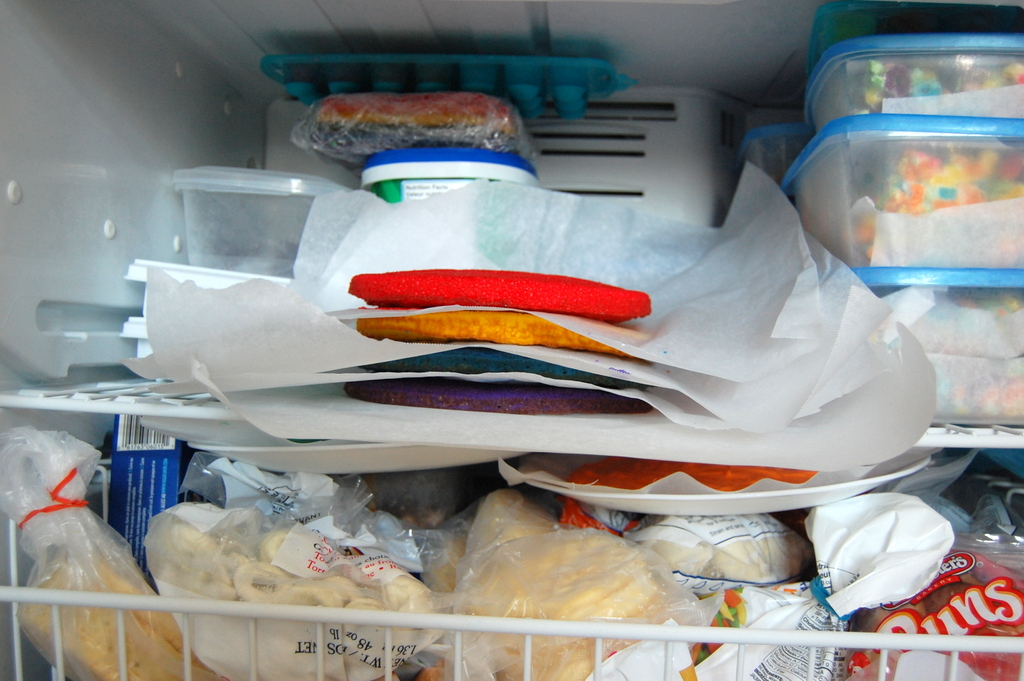
Step 8
Take all your cake layers and your icing layers and put them in your freezer. I left mine in for several hours.
Step 9
Get your almost frozen cake layers out of the freezer to get ready for an icing crumb coat.
Initially I put down parchment paper on the cake tray and thought, maybe I’d pull it out after I ice it (to avoid a messy tray).
But then I thought “What could possibly go wrong with me doing that?” and changed my mind.

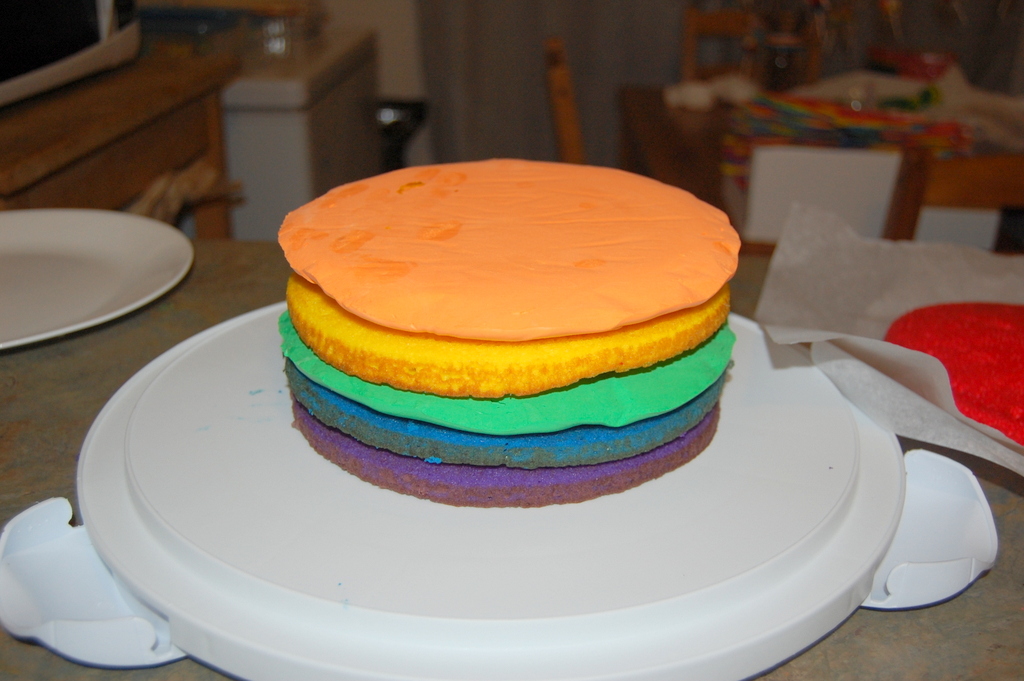
Begin to stack your cake layers in the order of the rainbow colors, purple, blue, green – icing layers included (which should now be pretty much frozen).
If you find your icing layers are a tad bigger in diameter than the cake layers, just trim off the excess with a knife.
Step 10
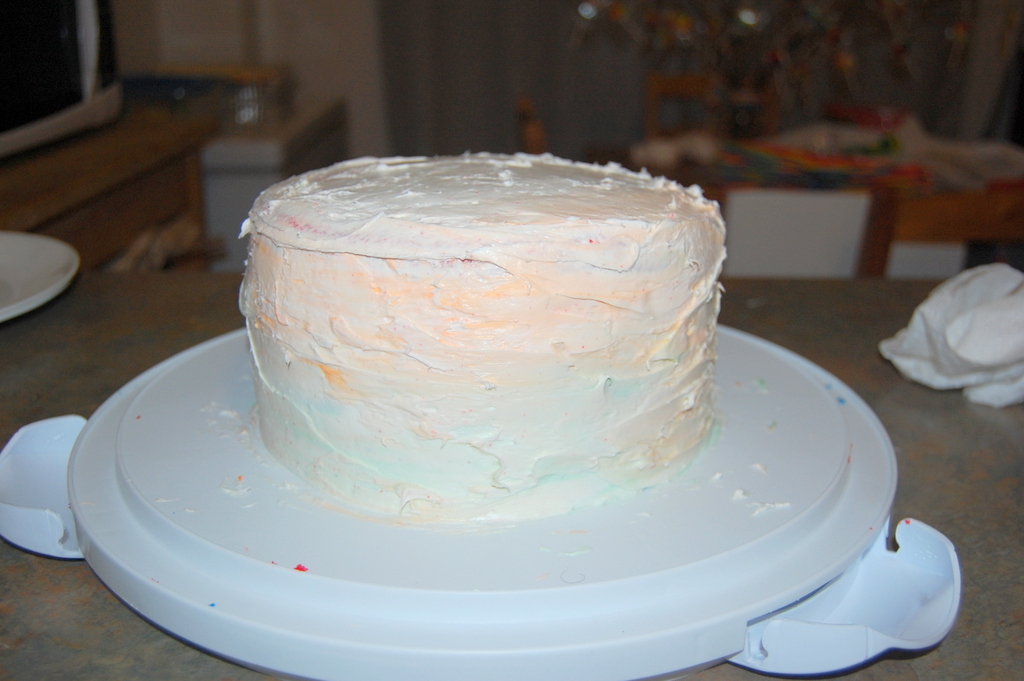
Do a crumb coat (aka the first messy layer of icing/frosting of your cake). Don’t panic when you see the Orange or Green icing layers mix in with the crumbs. It’s called a crumb coat for a reason. It’s supposed to look like crap.
Put the cake back in your freezer for about another hour.
Step 11
Do a final icing/frosting coat of your cake. Please make sure your crumb coat feels stiff and relatively frozen before you do this.
DO USE for your own sake a cake icing spatula and/or a cake smoothing tool. Don’t use a knife or your regular spatula. You will drive yourself crazy.
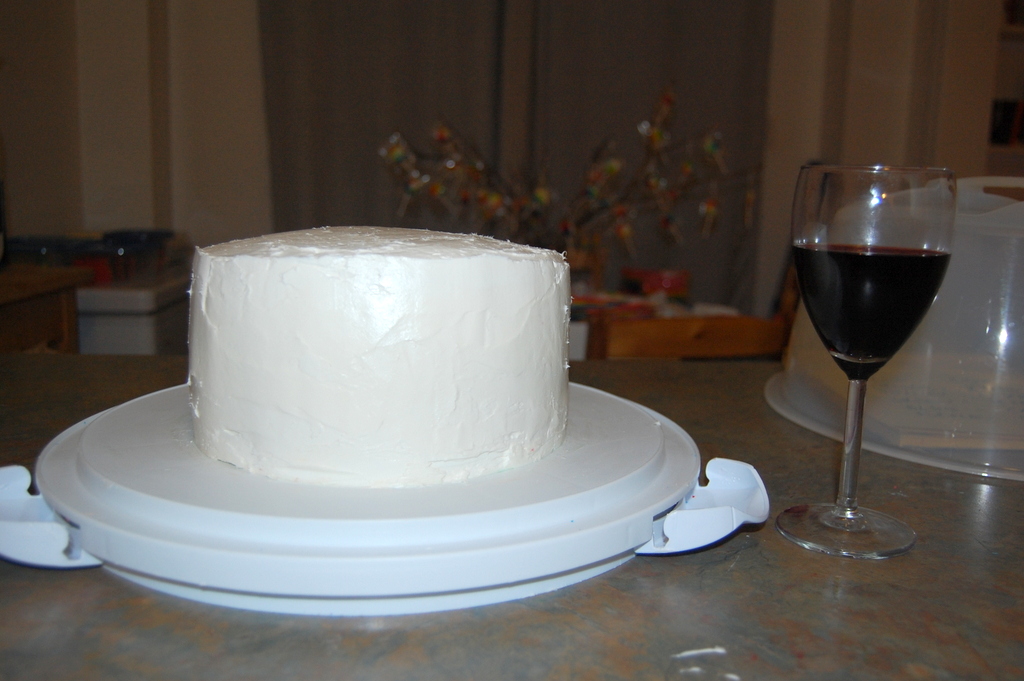
FYI – Glass of wine not necessary in icing but yet may make this whole process easier.
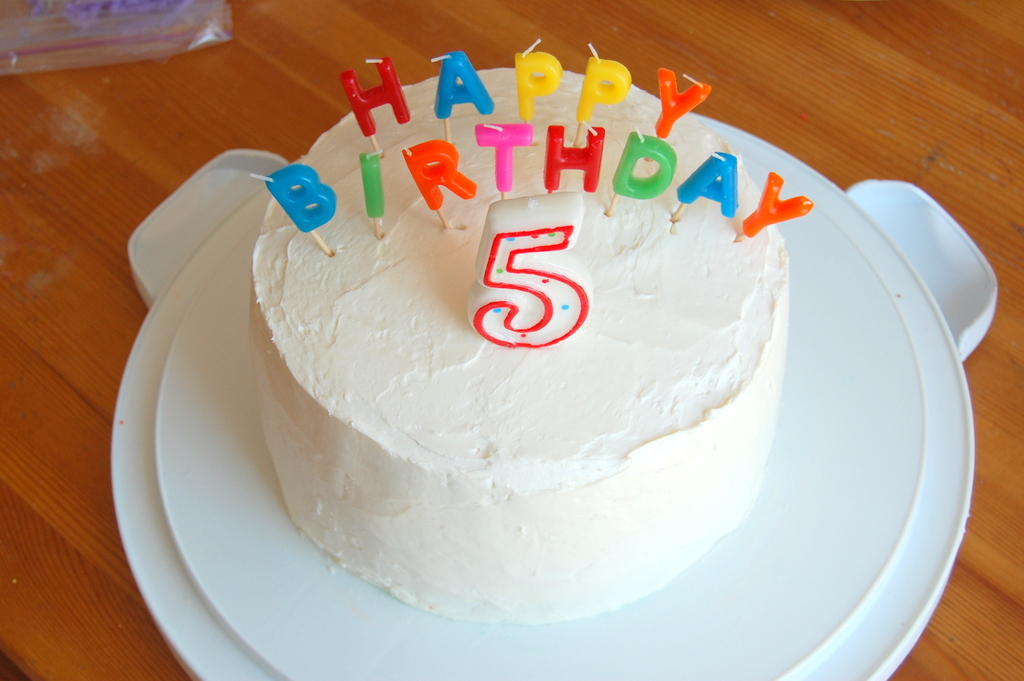
You’re done. Put your cake away in the fridge for the Birthday Party the next day. Decorate or do not decorate the outside of it at your own choice.
Step 12
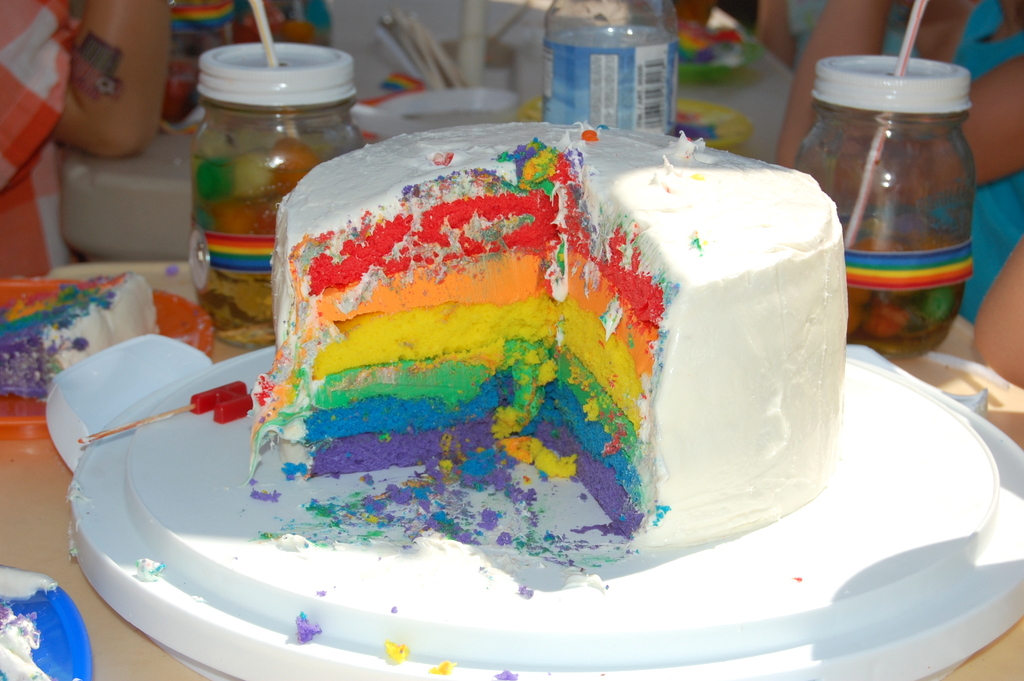
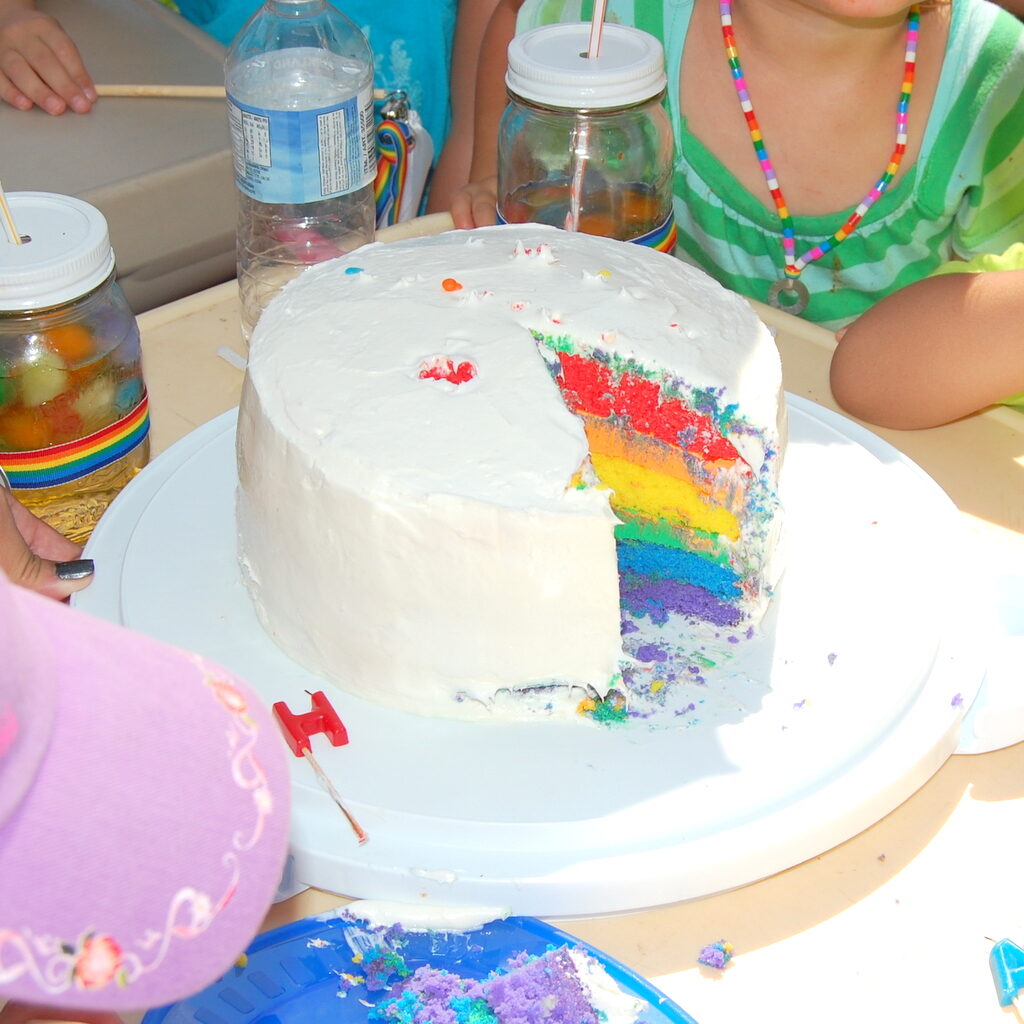
Take a deep breath and cut into the easy rainbow cake during the birthday party the next day.
RECAP:
The red, yellow, blue and purple layers are cake.
The orange and green layers are icing/frosting. Still a great rainbow effect!
Yes it’s sugar coma. Accept it. It’s a birthday party. Feed them kale smoothies for the rest of the week.
FOR THOSE WITH A PEANUT ALLERGY
On a food coloring note, I also made up a batch of rainbow cupcakes for a friend of my daughters who has a peanut allergy and can’t eat anything made with the Wilton Gel products (as the current ones state there may come in contact with peanuts) so I used the regular Club House Food Coloring ones for these. Of course in the chaos I forgot to take a photo of the finished cupcakes the day of the party.
But I just wanted to show you what the colors would look like if you went this route vs using the gel colors.
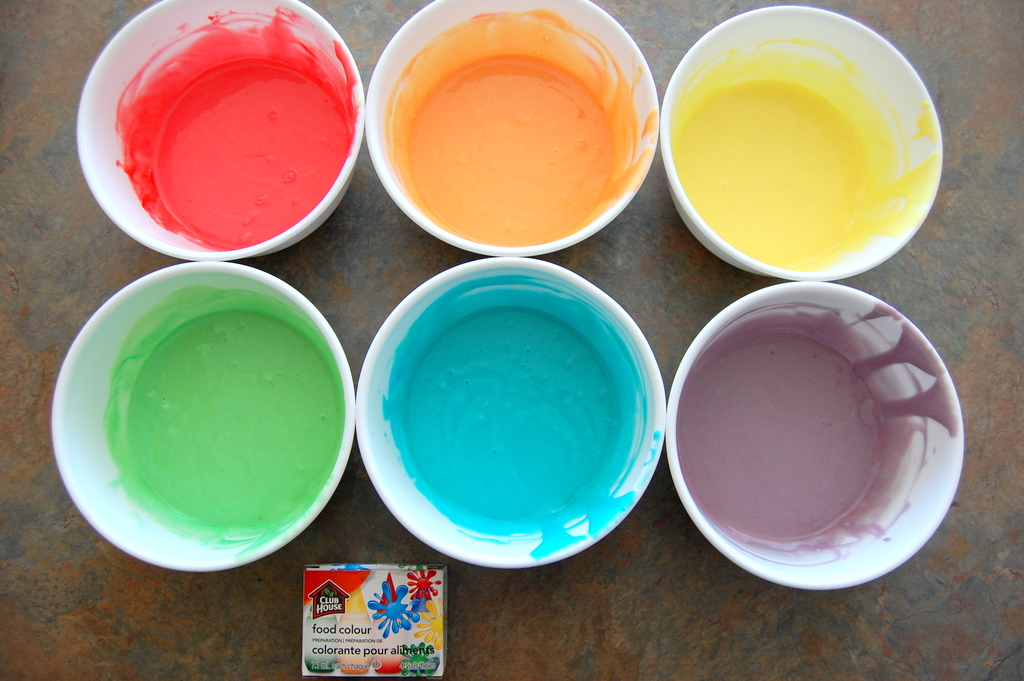
A lot more pastel vs the gels. I know they make a Neon version of the Club House ones but I haven’t tested those out yet.
As per their website because companies change ingredients all the time over the years in their products: For the most updated allergen and nutritional information, it is important that you read the ingredient statement on our packages at the time of your purchase.
In the end both the rainbow cupcakes and easy rainbow cake tasted fabulous. Thank you Betty Crocker!
NOTE: This post was written back in the early 2010’s and is part of a throw back post series from my first blog when I hosted a Rainbow Themed Birthday Party for our daughter. Not surprisingly, years later it is still applicable for tired parents everywhere, trying to make an awesome birthday cake for their kids. PS – My baking has gotten a lot better since then, but then I wouldn’t have funny stories on how I got there.
No Comments