
This is the story about that time I decided that I wanted a vegetable garden in our very suburban backyard. Yes you can absolutely grow vegetables in your backyard of your McHouse in whatever suburb you’re in. I realized I hadn’t posted about the garden trellis that my husband built so here’s our DIY adventure, where we show you how to build an inexpensive trellis. And by inexpensive trellis, I mean this cost us around $25 to make.
How to build an inexpensive trellis that lasts long!
The kids went to the Grandparents for the long weekend, which meant one thing. Spring cleaning. I’ve got more cleaning supplies in this house than the FBI drug squad and Go Clean Co. It took me two hours just to gut the bathroom with a good scrub. Terrifying what soap residue does to tiles.
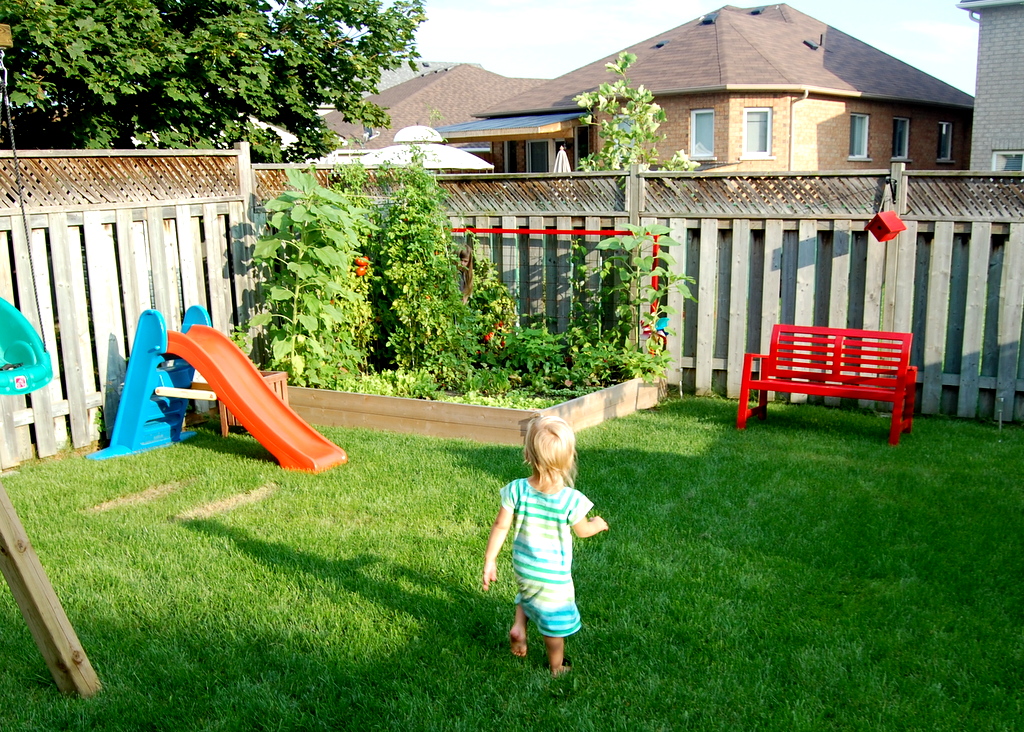
Now I sit here with a glass of wine and some homemade chocolate chip cookies that my mom brought (notice how other people’s baking always tastes better than your own) and I looked out the window in the backyard at the new garden bed. When do I get to call myself a gardener officially?
My plans for this garden were both ambitious and naive (as I will explain in the garden update).
DECIDING ON WHAT TYPE OF TRELLIS TO BUILD
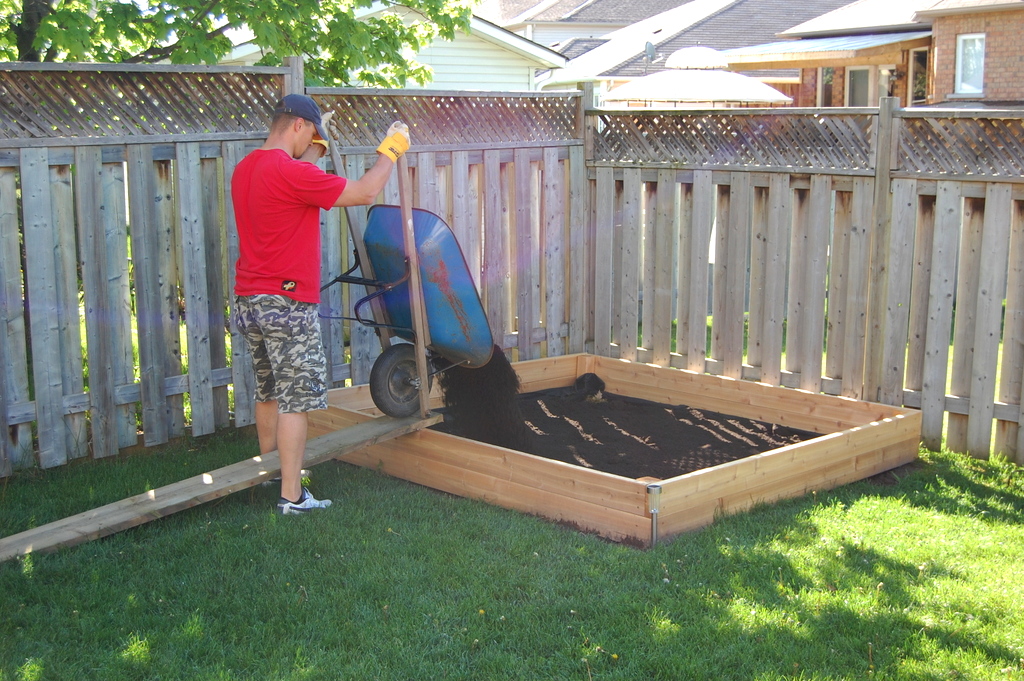
This was the garden box the day we dumped about just over half a cubic yard of triple mix soil in it.
Initially in the corner of the vegetable garden box we wanted two garden trellises to go across both sides of the square garden bed.
In other words approximately 6 feet panels on both sides.
Then the reality of how much that would cost took over and well this thing called “saving money for the basement renovation fund” took priority. After doing some research online about good options for trellis that LAST outdoors over time, we decided to build a wire trellis with a wood frame.
Mother nature can be vicious during our Canadian winters. We only wanted to build this trellis one time, instead of every season.
WHAT WE USED FOR THE WIRE PART OF THE TRELLIS
We walked from the garden section at our local hardware store, all the way to the concrete aisle. That’s where you’ll find these. They’re called Remesh Sheets or Steel Wire Mesh.
This is NOT the rolled fencing. They’re big sheets of wire that do not bend.
It makes the perfect material for a garden trellis because it can withstand the weight of your plants and heavy vines. That means it lasts long.
Yes it will rust if it’s going to be outside, so you can protect it with a rust spray. I didn’t do that so some rust did occur naturally over time. But it held its shape and this trellis is still going strong in our previous house with the new owners. Our old neighbors tell us how the backyard is doing all the time.

At the time we bought this, one 48″ x 96″ wire mesh panel cost $11.97. Considering how much a small wire trellis costs at your local store, this is beyond a bargain.
To build the wood frame for around the wire mesh, we picked up some 2 x 2 x 8 pressure treated wood.
And because someone had to prevent the kids from running towards Daddy’s drill and wire cutting contraption (oh and take pictures), I salute my husband for pretty much doing this on his own.
BUILDING THE INEXPENSIVE TRELLIS
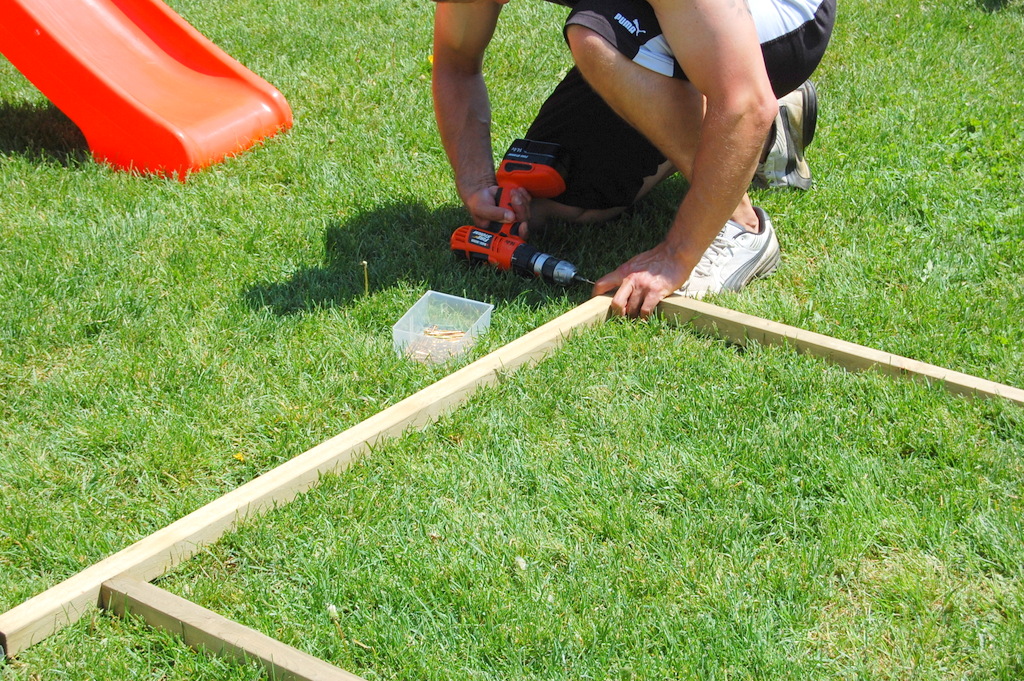
Step 1 – Make your frame
Measure your wood to correspond with your desired measurements of the wire mesh. Your garden bed size is going to different than ours. Obviously.
TIP: You can trim the wire mesh to the appropriate size that you want.
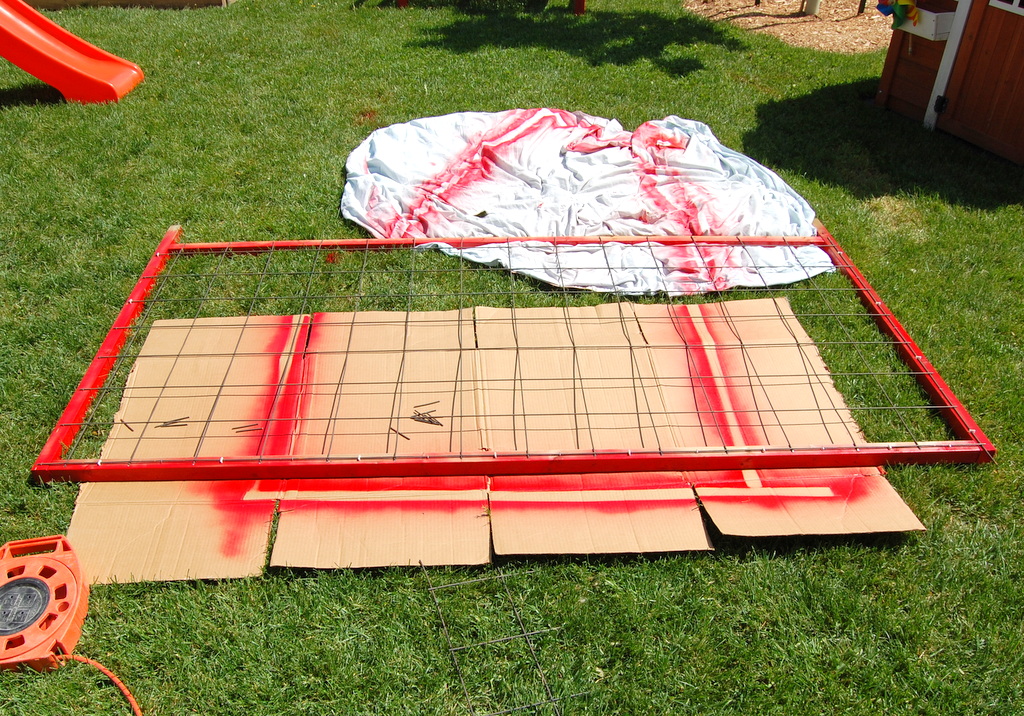
This was about as simple as measuring and trimming the wood to correspond with the 8 foot by 8 foot garden bed. Then attaching the wood frame pieces together to build a basic frame.
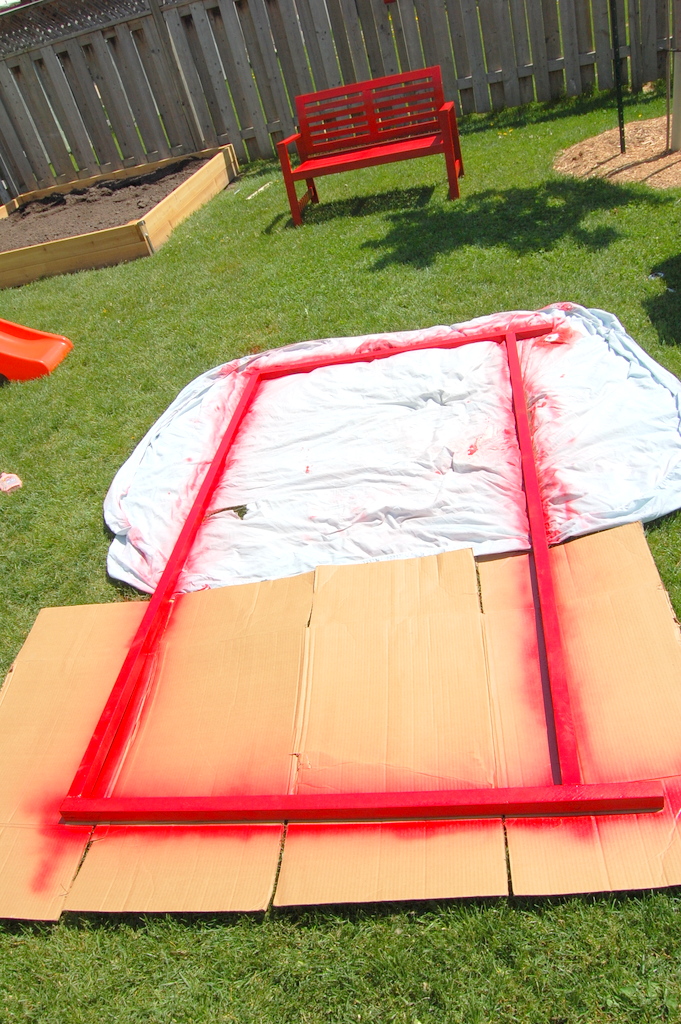
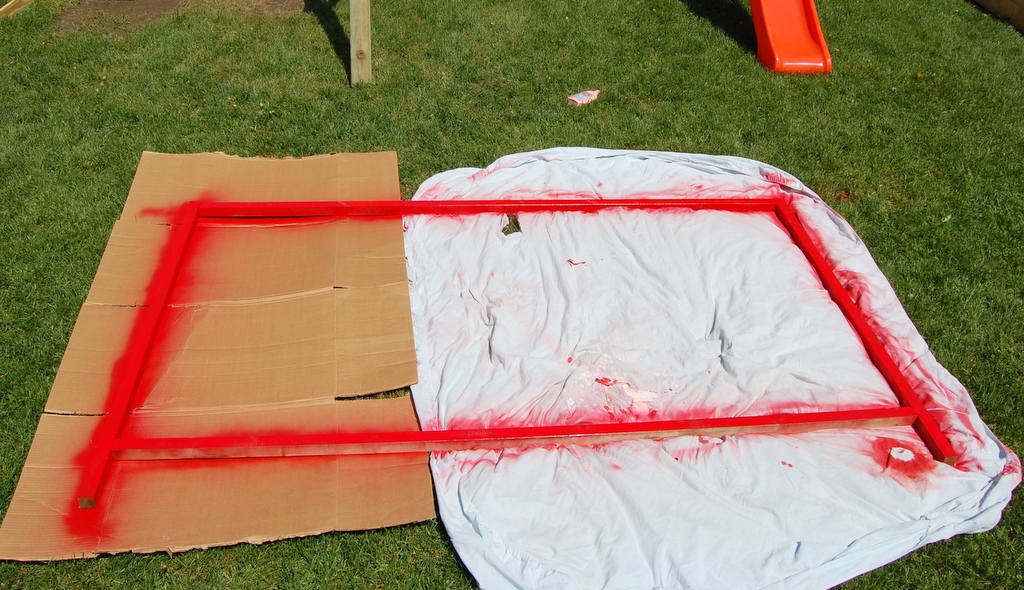
Step 2 – Paint
Who says garden trellis have to be boring? Want it pink? Paint it pink? Bright yellow? Go for it!
I wanted red. So Rustoleum’s Gloss Apple Red is spray paint is back. I painted the IKEA bench with that color as well.
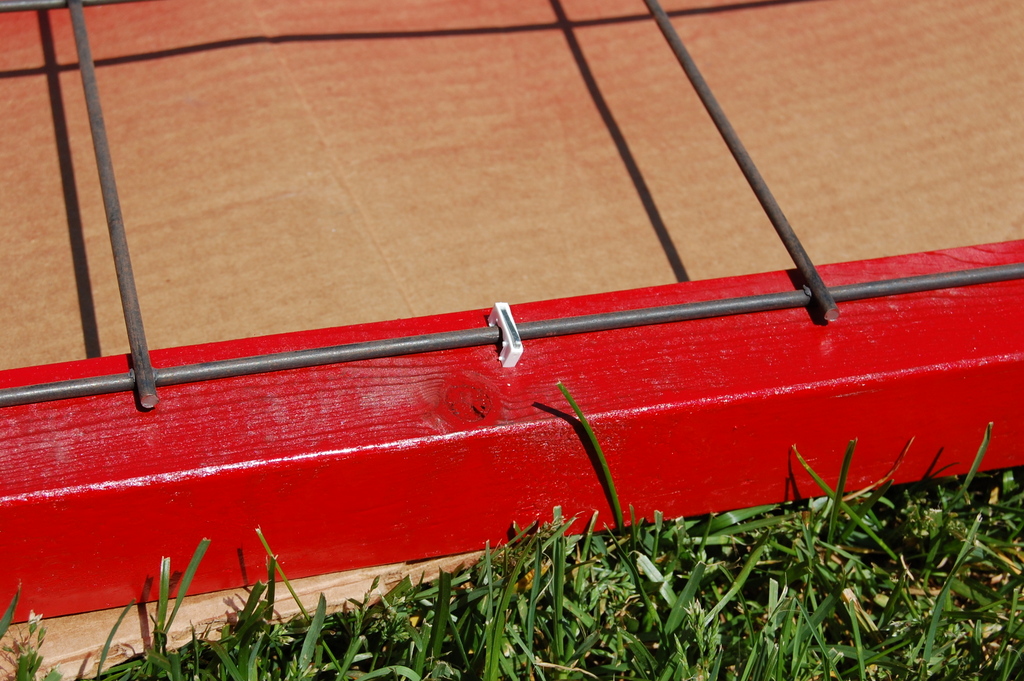
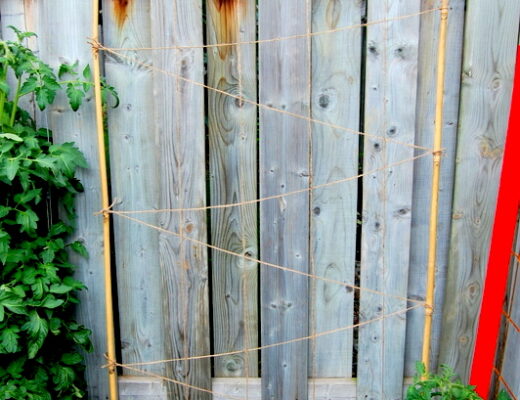
Step 3 – Attach the wire mesh
First, trim the edges of your mesh with a wire cutter. Or in my husband’s case, over-enthusiasm with a grinder.
Step 4 – Welcome to your new inexpensive trellis to its new home
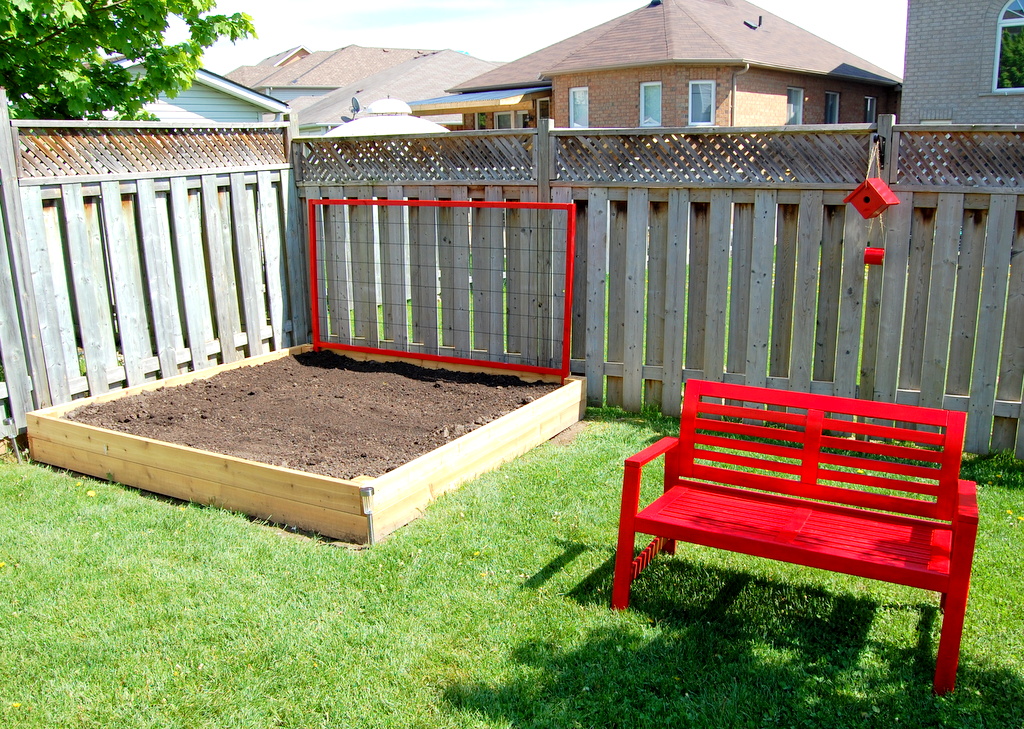
Now do we make another panel? Well, we wanted to make sure we liked the outcome before doing that.
For approx $25 total we just may. But first, let’s see if I can grow some vegetables. And that is how you build an inexpensive trellis.
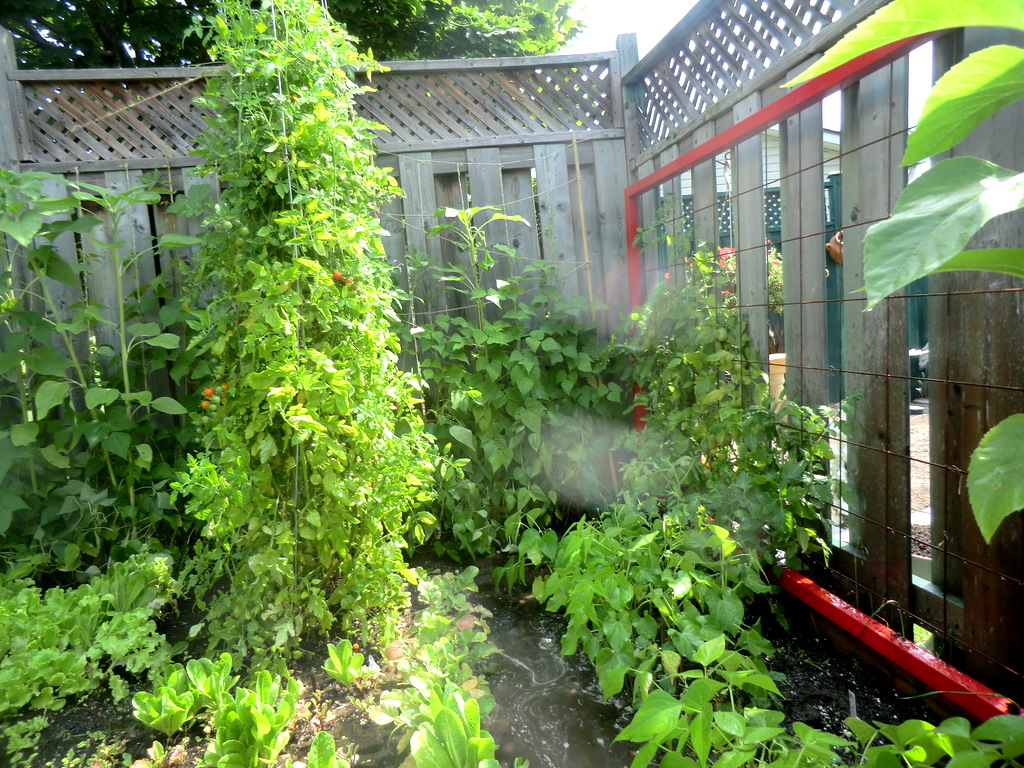
GARDEN UPDATE:
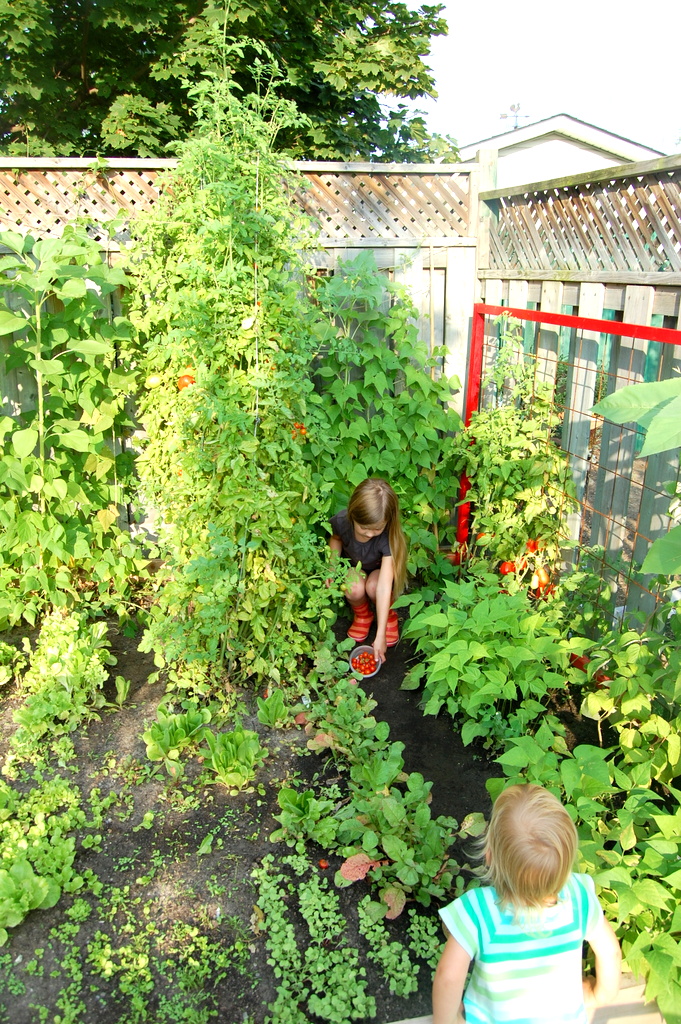
It turns out we could grow vegetables. Lots of them. This was the summer I learned a ton about what we eat, what we don’t eat, wildlife in the suburbs and bugs. Did you know that squirrels love tomatoes and bugs can make or break your garden. Next time, they’re getting covers built over the beds.
Down the line in this backyard, we would up shrinking that corner garden into two, rectangle garden beds. They ran along the side of the fence.
But it was a great learning experience and I definitely know what to do better next time. The trellis is still there in the new beds as this is our previous house. Do we ever miss that backyard though.
2 Comments
cheryl
September 11, 2012 at 2:33 pmI. LOVE. This! I jsut read your garden update post and was completely enchanted by that red trellis! I may just need to incorporate this next year in our cucumber bed! What an awesome DIY!
Alex @ northofseven
September 11, 2012 at 3:19 pmIt was so cheap to do too! Your cucumbers survived? Teach me your ways please…